Beginner's Blueprint to Skim Coating: Easy-to-Follow Instructions
Mastering Skim Coat Techniques: Your Ultimate Guide to Repairing and Refinishing Walls and Ceilings
Skim coating, a fundamental technique in the world of interior renovations, offers a sleek, modern finish to your walls and ceilings. This comprehensive guide will walk you through the essentials of skim coating, focusing on everything from basic drywall repair to the more intricate aspects of skim coat plaster. Whether you're dealing with an outdated popcorn ceiling or just looking to refresh your space, this article provides easy-to-follow instructions to help beginners achieve a level 5 drywall finish.
Understanding Skim Coating
What is Skim Coating?
Skim coating is a refinishing technique used to create a smooth, level 5 finish on walls and ceilings. It involves applying a thin layer of plaster or joint compound over the surface, smoothing out imperfections, and creating a perfect base for painting or wallpapering.
Why Skim Coat?
Skim coating is ideal for repairing and refreshing surfaces. It's particularly effective for covering up texture, like a popcorn ceiling, and for repairing plaster walls. It also helps in achieving a uniform, seamless look across your surfaces.
Materials and Tools Needed
- Joint compound (also known as drywall mud)
- Drywall knives in various sizes
- Sanding block or sandpaper
- Primer and paint (if painting afterwards)
- Ladder and safety gear
Step-by-Step Guide
Drywall Repair: The First Step
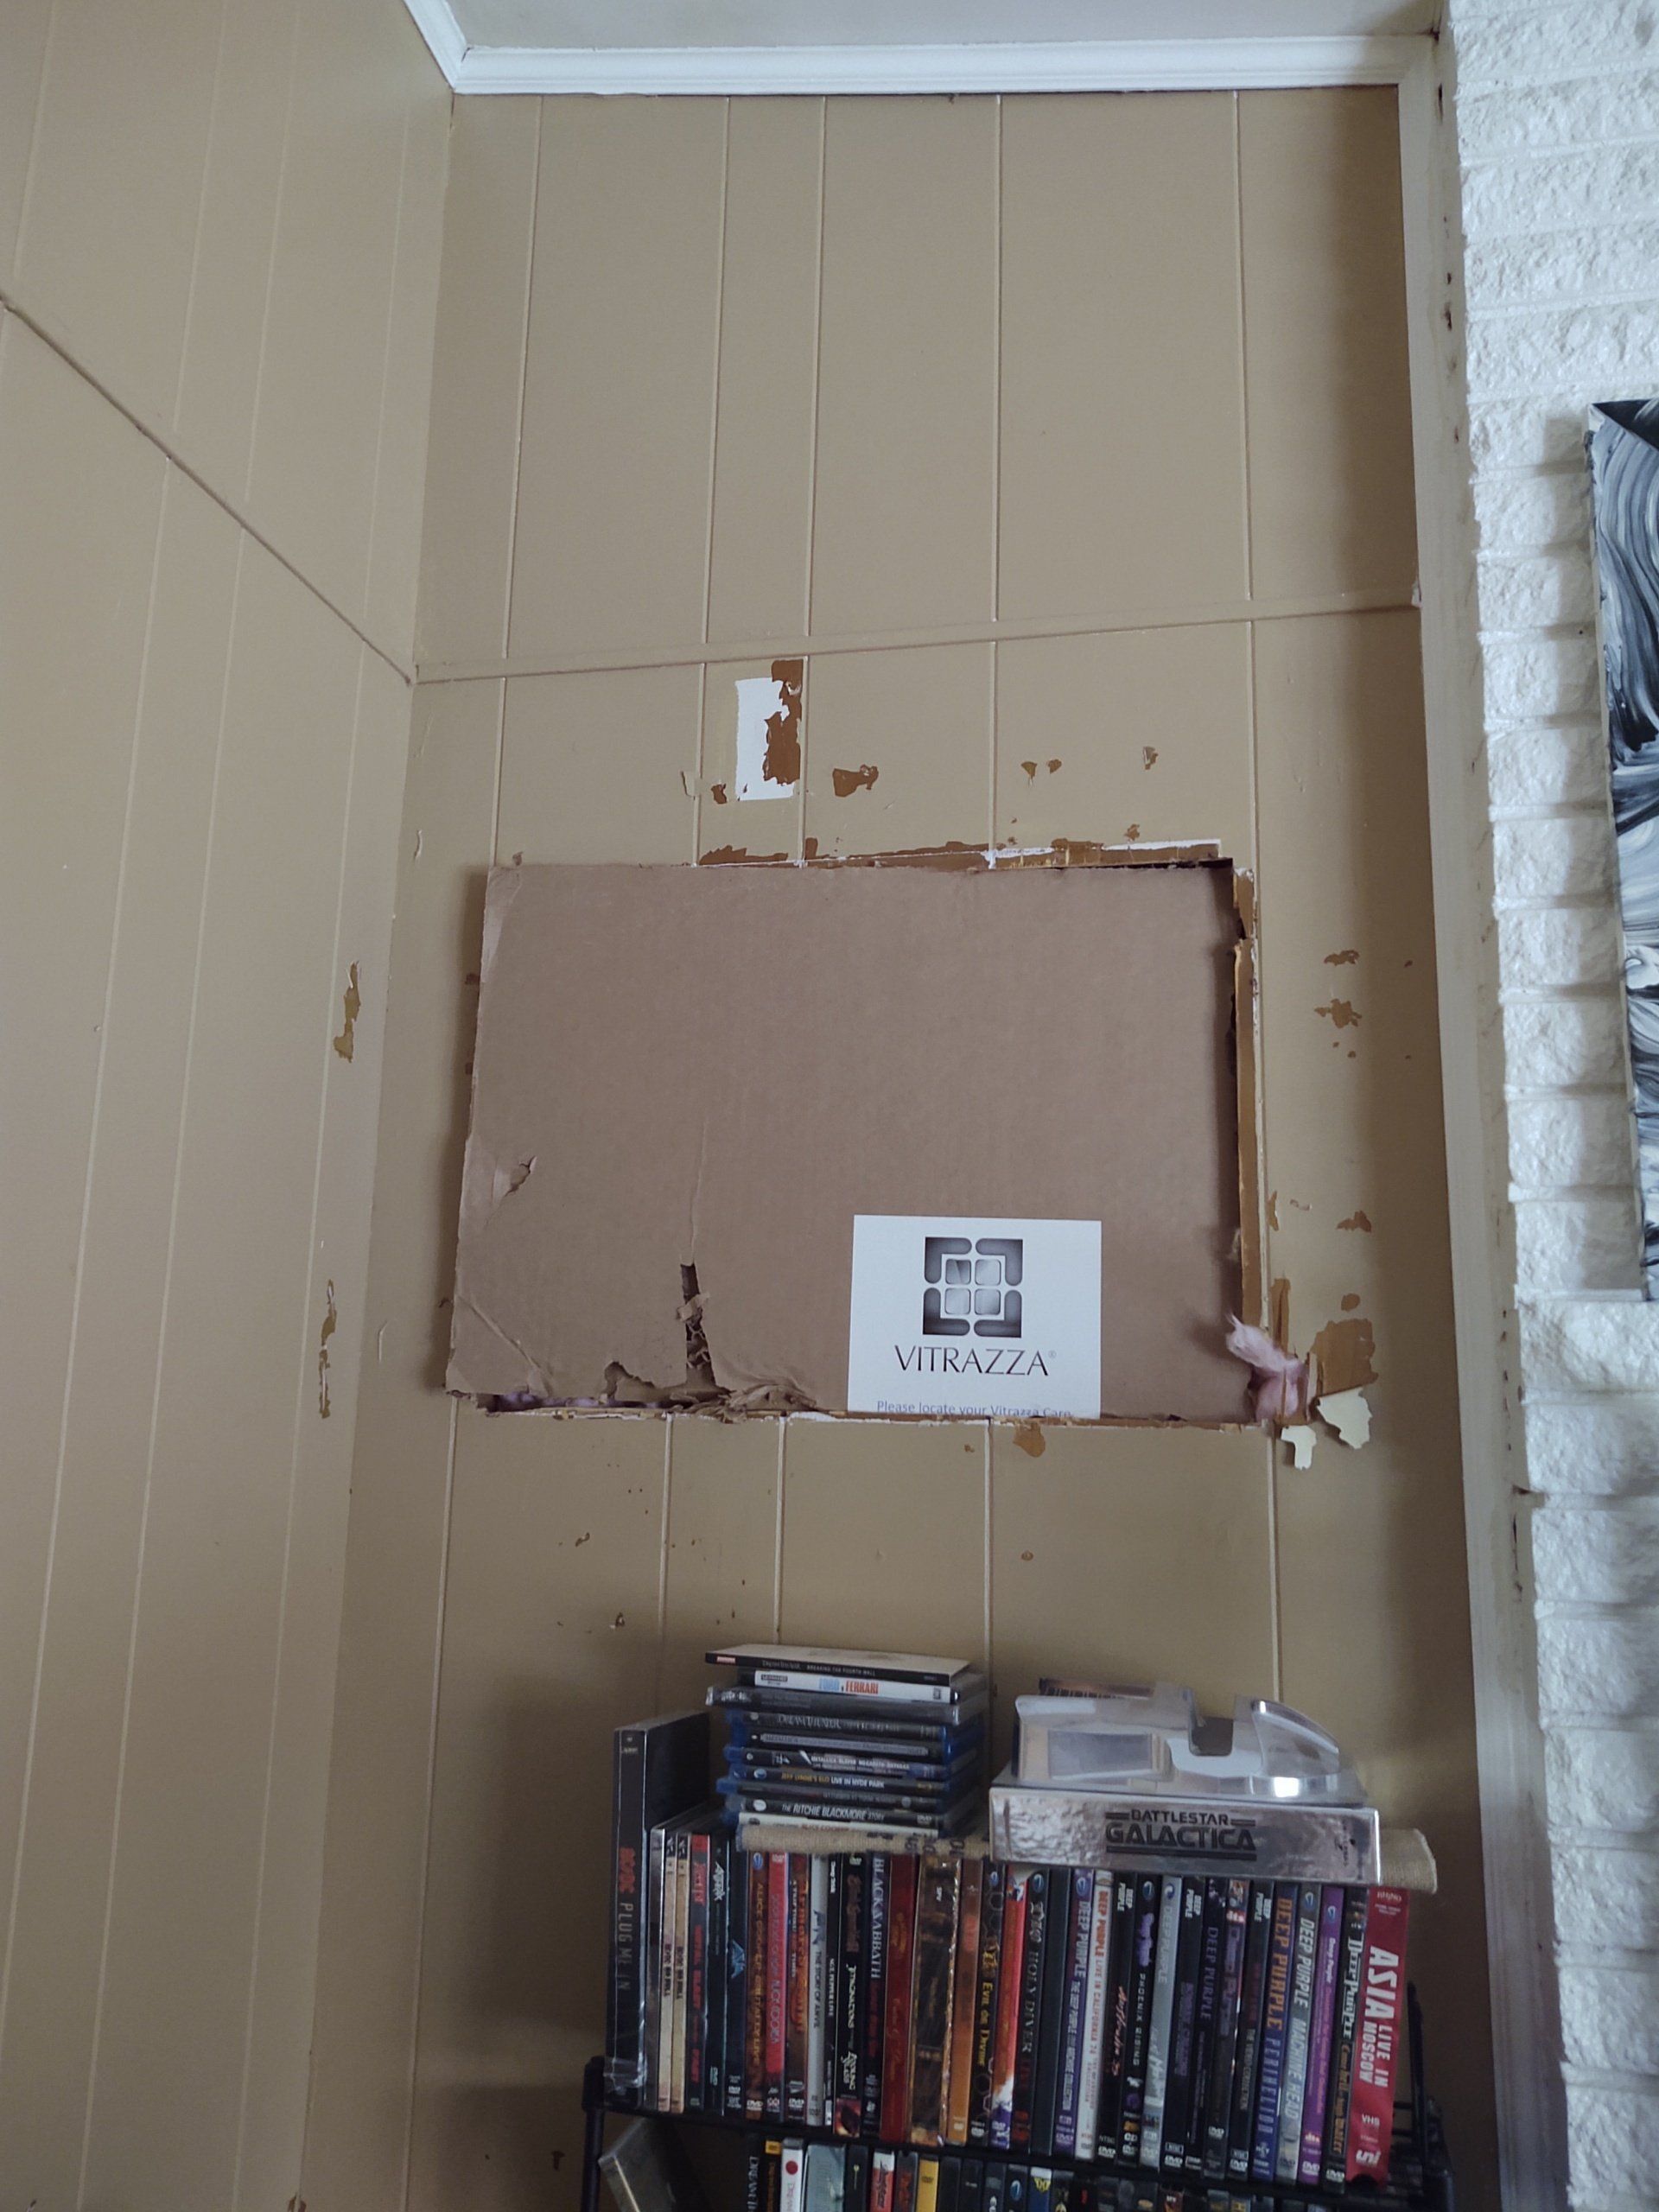
Before skim coating, ensure your walls are in good condition. Address any drywall repair needs such as holes, cracks, or dents. Use a drywall patch or joint compound to fill these imperfections.
Prepping the Surface
For a skim coat drywall or plaster wall repair, clean the surface thoroughly. Remove any dust, dirt, or grease to ensure the joint compound adheres properly.
Mixing the Joint Compound
The joint compound should have a consistency similar to that of mayonnaise. If it's too thick, add a little water and mix thoroughly.
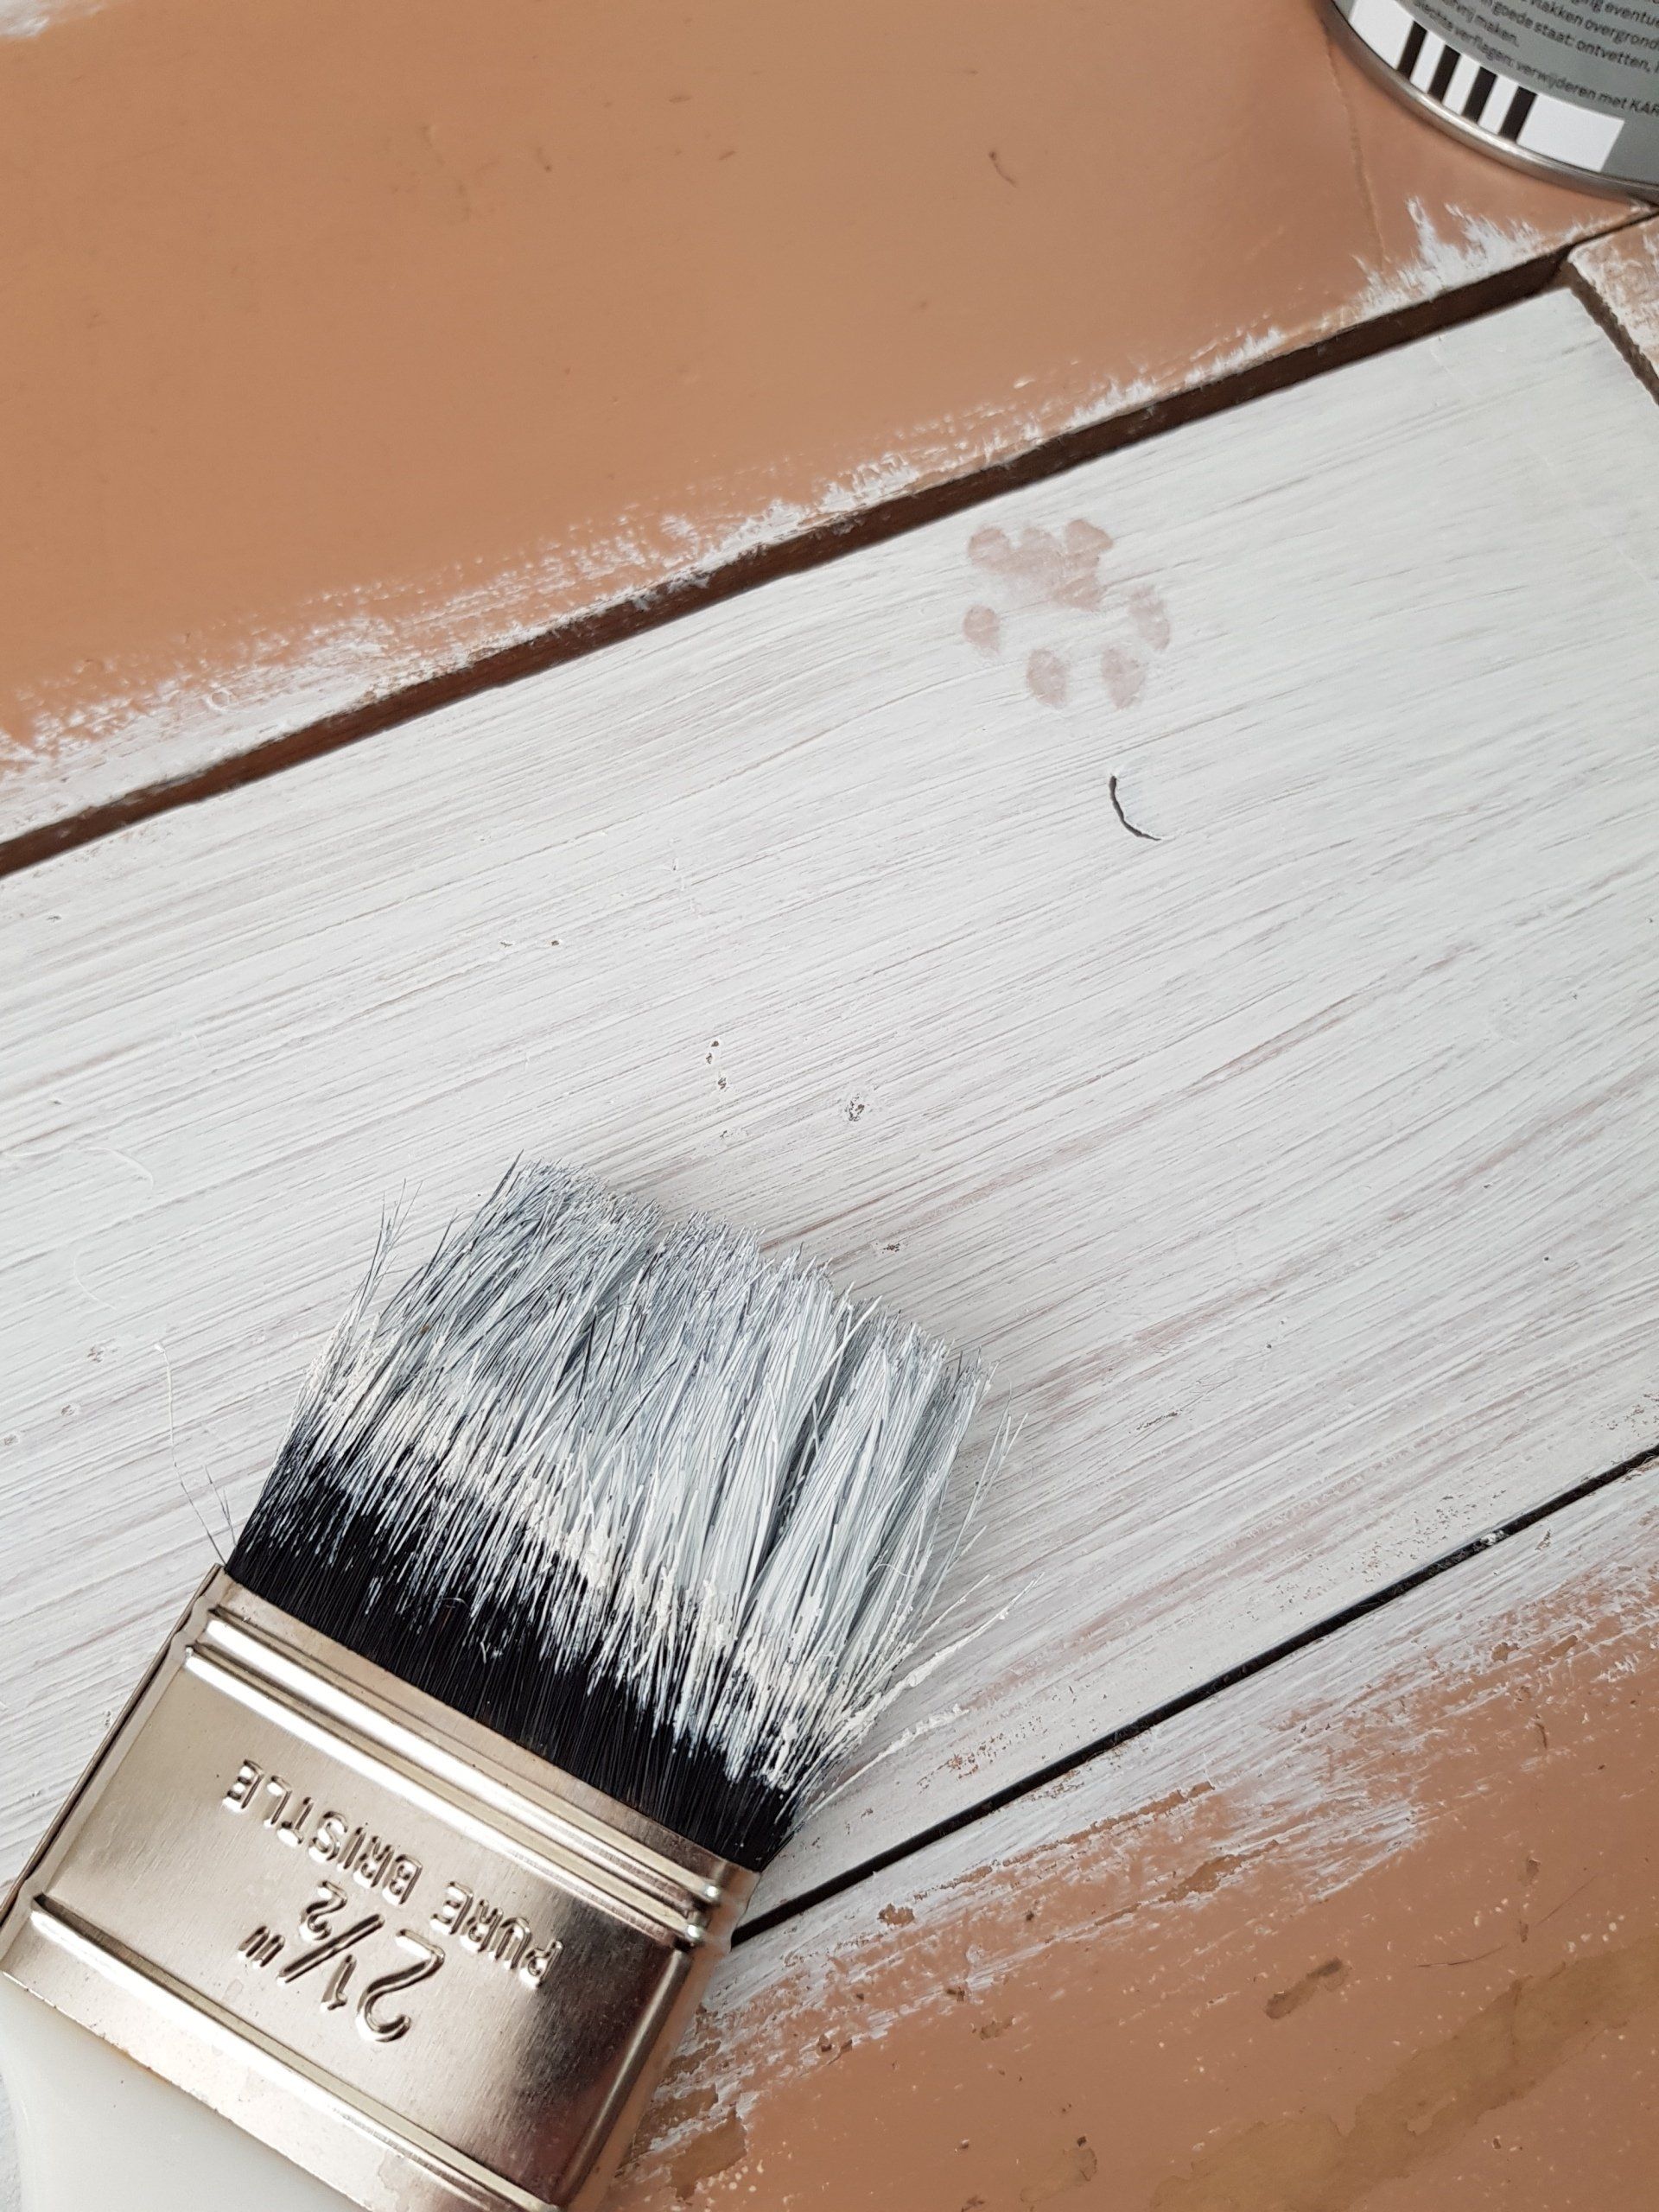
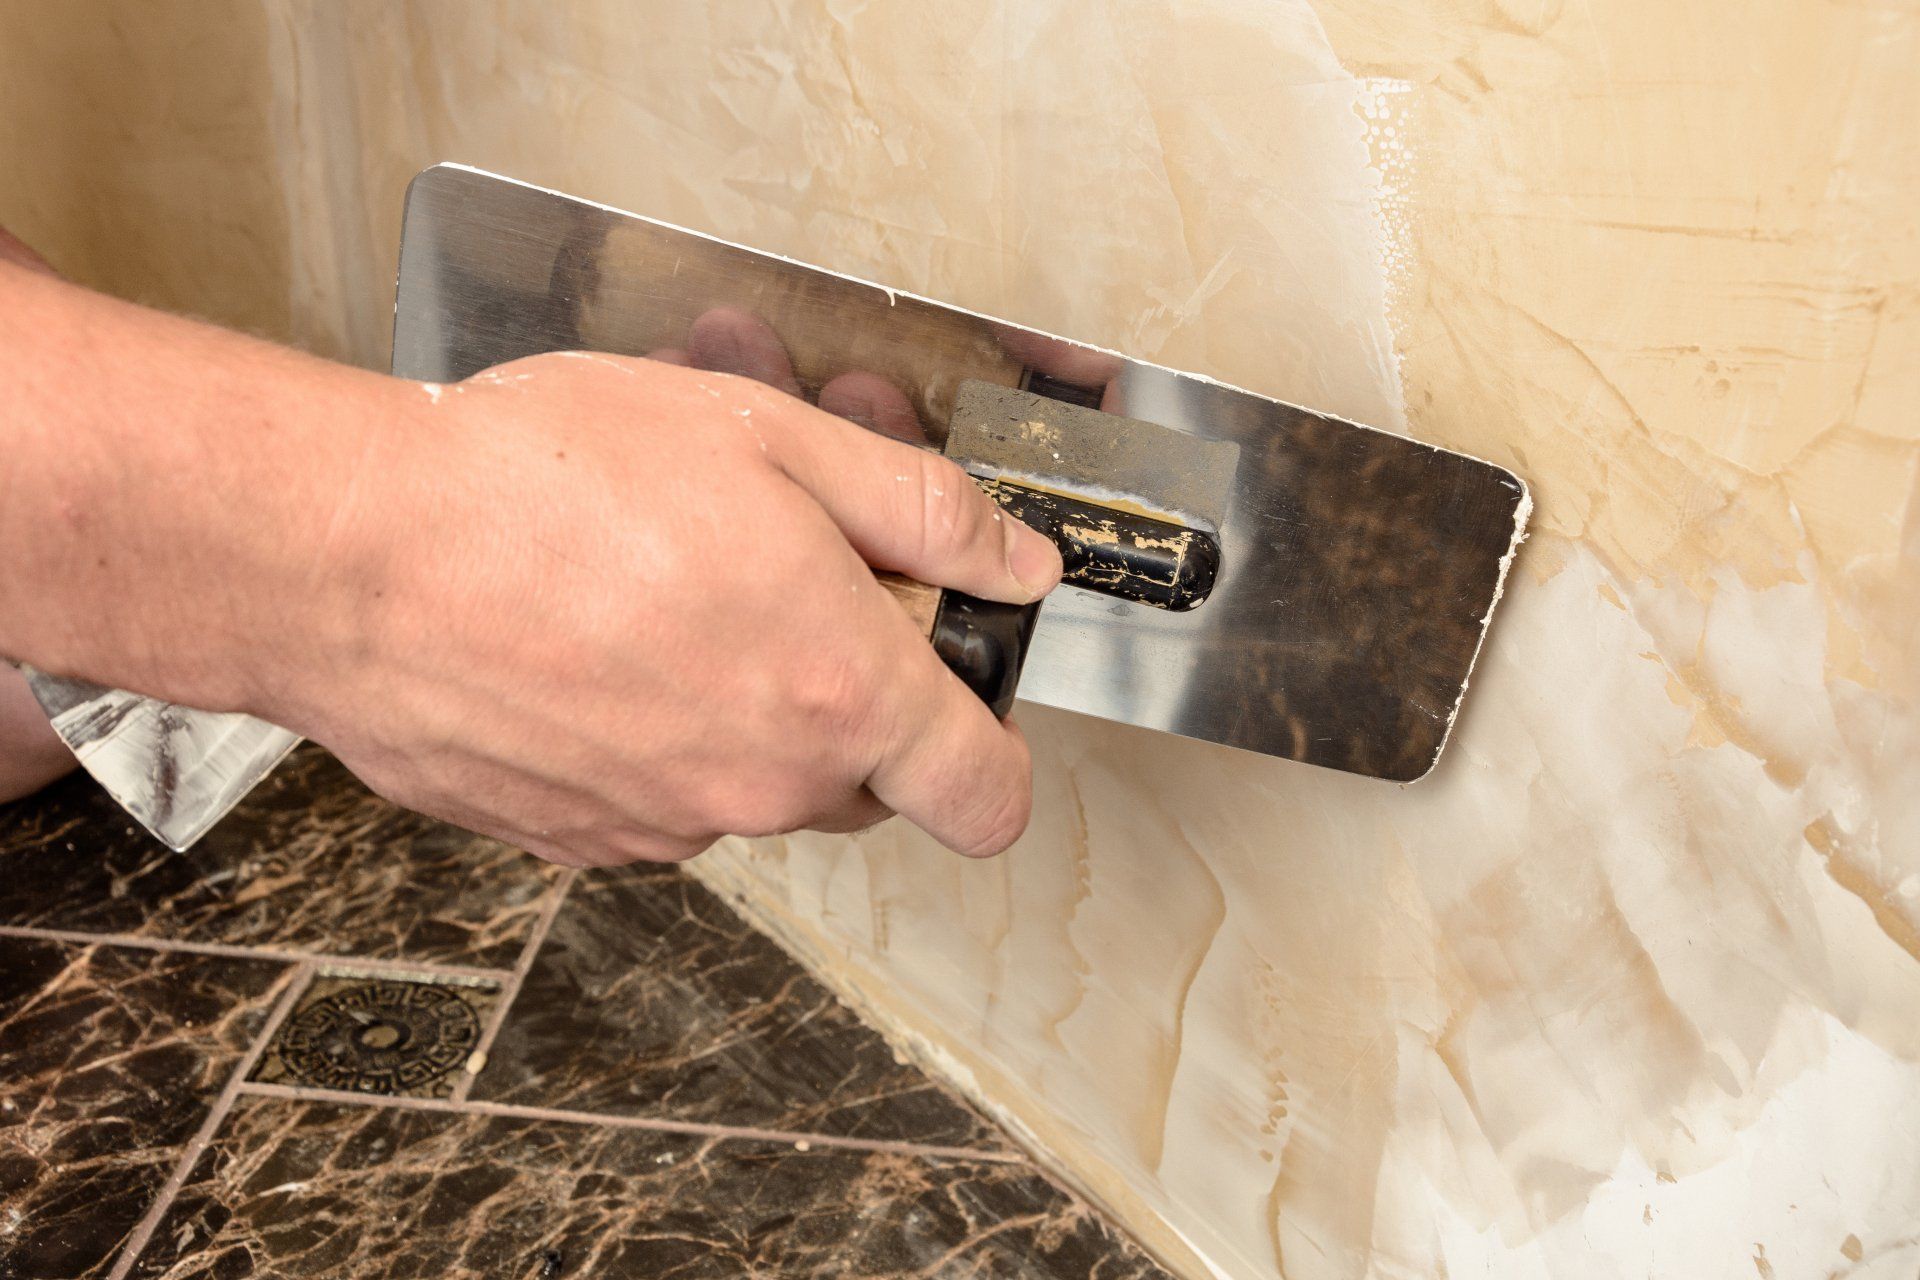
Applying the Skim Coat
- Skim Coating Walls: Use a drywall knife to apply the compound in thin layers. Work in small sections, using smooth, even strokes.
- Skim Coat Ceiling and Popcorn Ceiling: For ceilings, especially when dealing with a skim coat popcorn ceiling, use a ladder to reach the surface safely. Apply the compound in the same manner as walls.
Skim Coat Plaster
If you're working with plaster walls, the process remains similar. Ensure that the plaster is stable before applying the skim coat.
Level 5 Skim Coat
Achieving a level 5 drywall finish requires multiple thin layers of the joint compound. Allow each layer to dry completely before applying the next.
Sanding and Finishing
Once the final layer is dry, lightly sand the surface for a smooth finish. Be careful not to sand too aggressively.
Priming and Painting
After sanding, apply a primer before painting. This is crucial for a uniform finish, especially when skim painting.
Clean Up
Clean your tools immediately after use to keep them in good condition.
Tips and Tricks
- Skim Walls with Patience: Take your time and apply thin, even layers.
- Consistency is Key: Keep the joint compound consistency uniform for the best results.
- Lighting Matters: Use good lighting to spot imperfections during the skim coat process.
- Safety First: Always use a stable ladder and protective gear when working on ceilings.
When to Seek Professional Help
While many skim coating tasks are manageable for DIY enthusiasts, certain situations require professional expertise. Complex projects like extensive plaster wall repair, handling large areas, or dealing with significant structural issues are cases where hiring a professional is advisable.
Benefits of Professional Skim Coating Services
Professionals bring a wealth of experience and specialized tools to ensure a flawless finish. They can efficiently handle larger projects, achieve a consistent level 5 drywall finish, and troubleshoot unexpected problems. Their expertise is particularly valuable in challenging tasks like skim coating over textured surfaces, such as a popcorn ceiling.
Maintaining Your Skim Coated Surfaces
Long-Term Care for Skim Coated Walls and Ceilings
Post-skim coating, regular maintenance is essential to keep your surfaces looking pristine. Dust and clean your walls and ceilings gently, and address any minor damages promptly to prevent them from worsening.
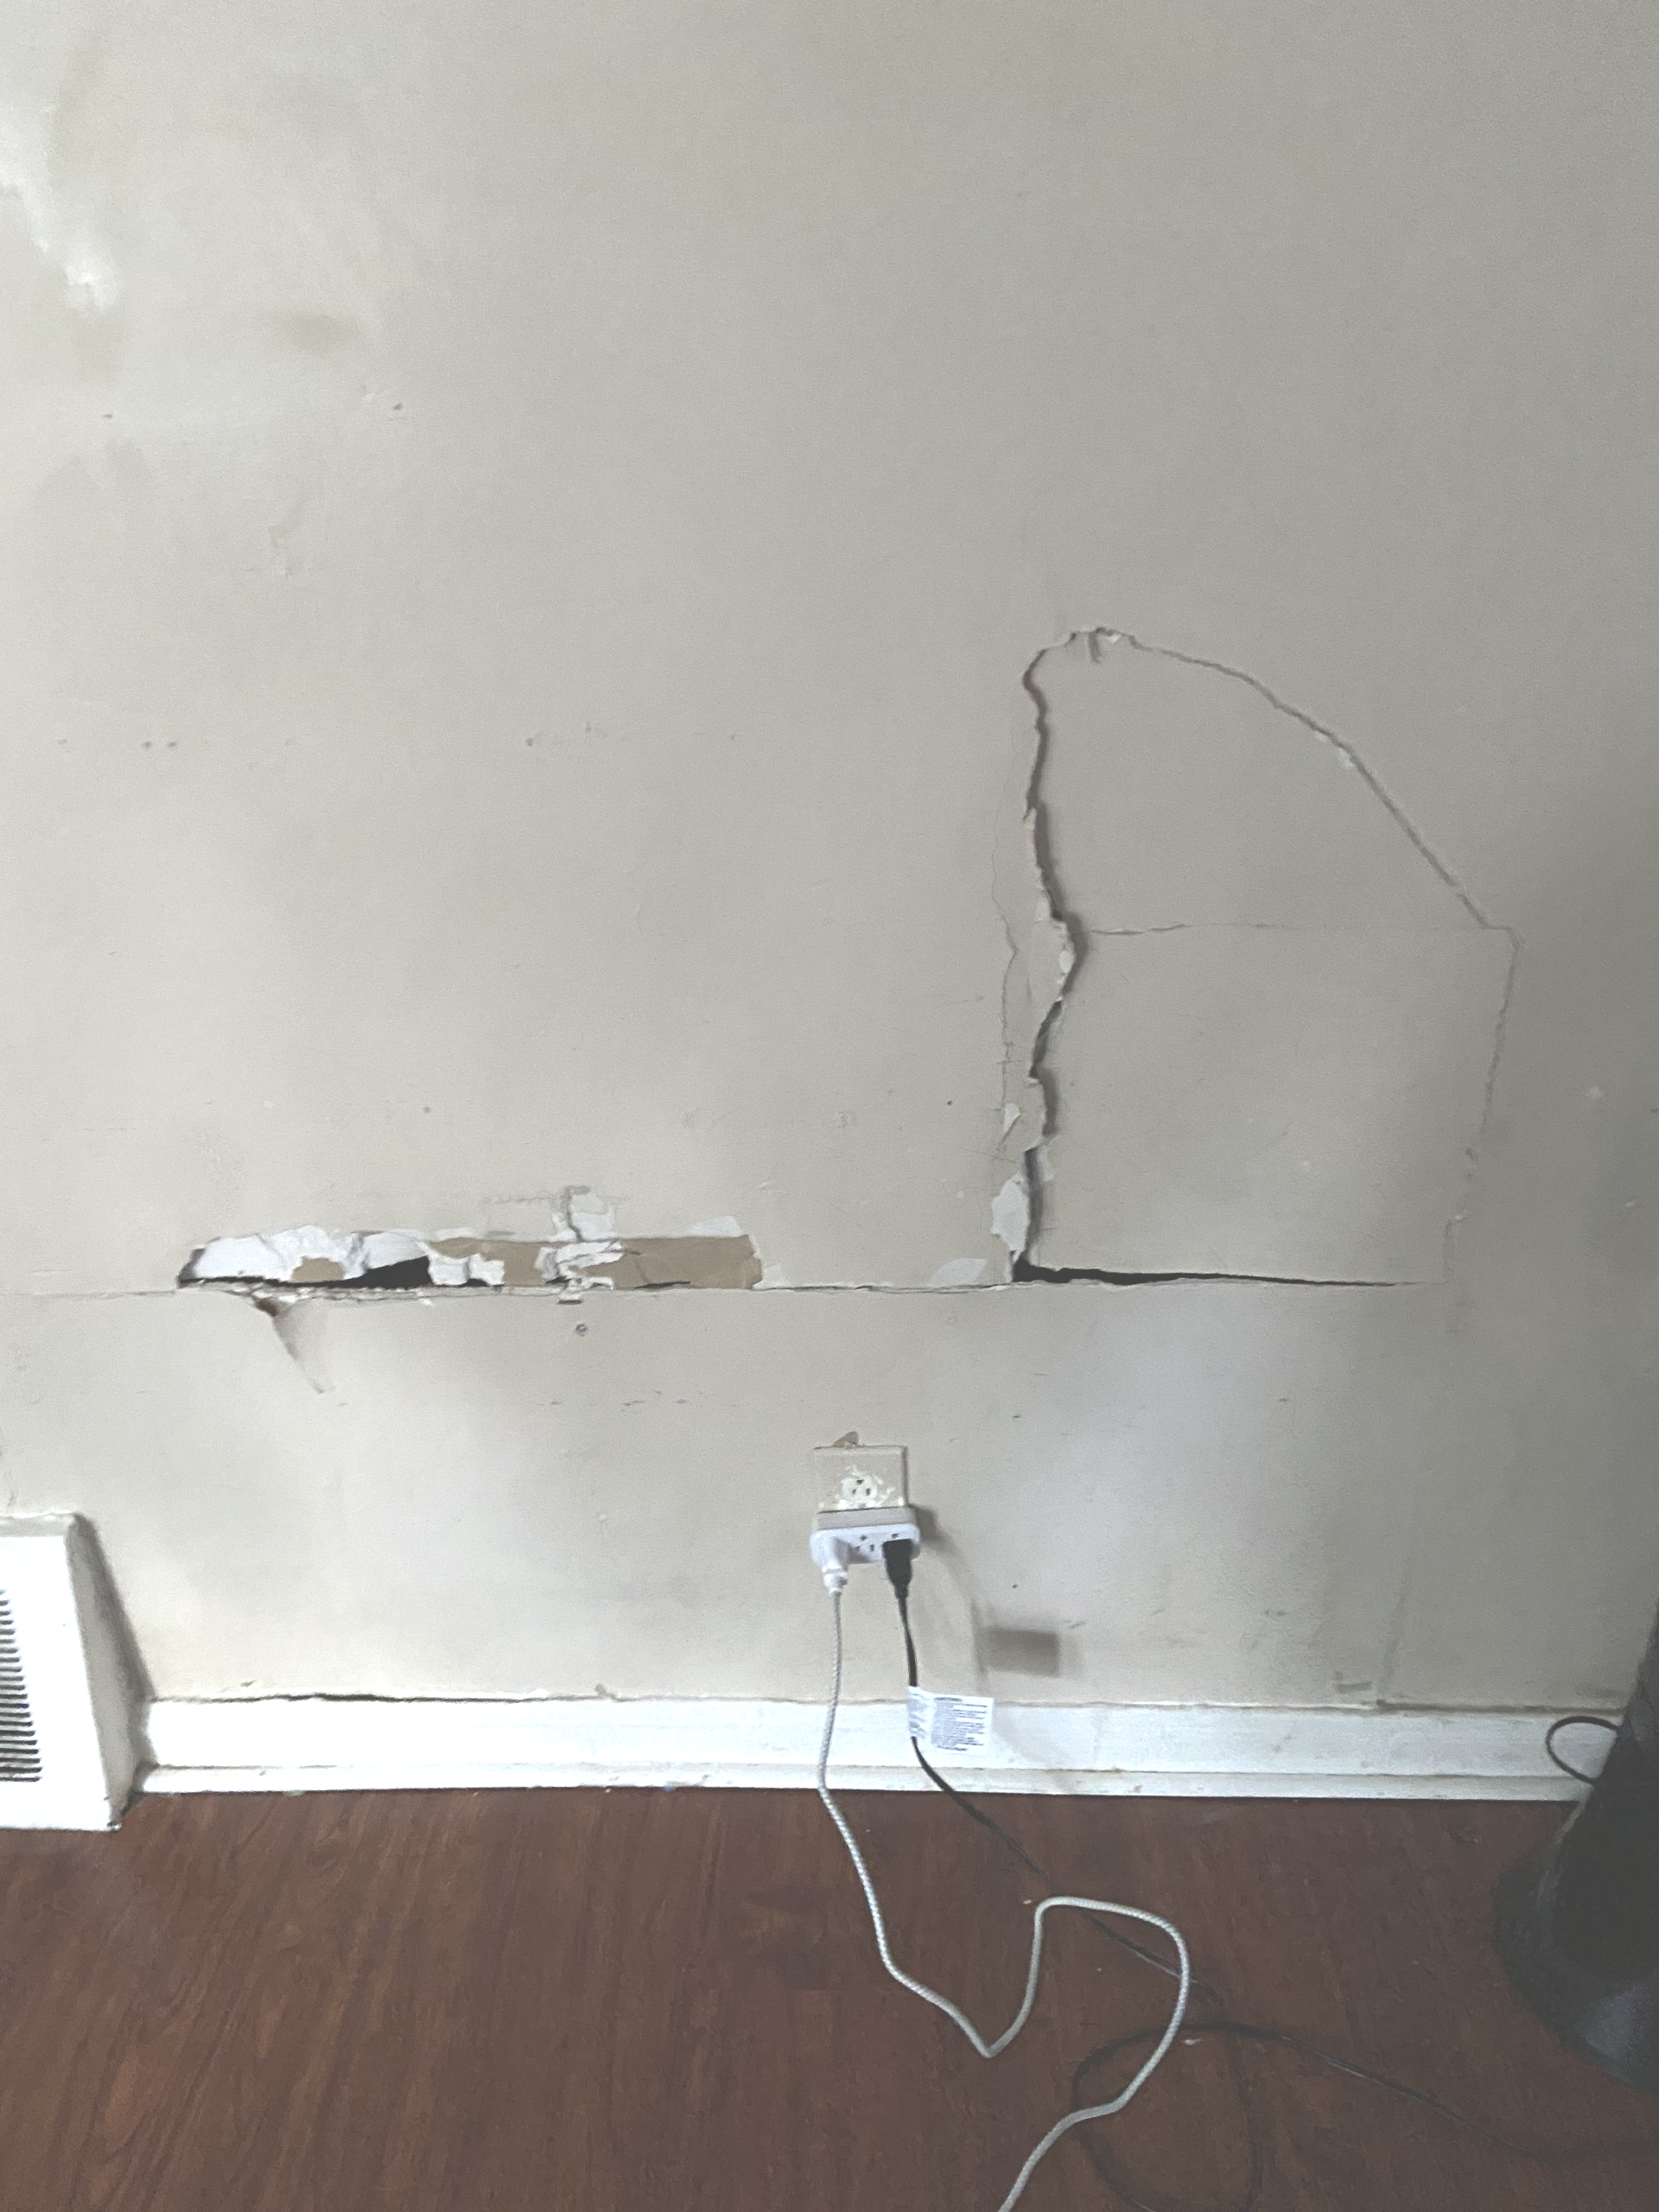
Dealing with Cracks and Peeling
Over time, you may notice small cracks or peeling in your skim coat. This is normal, especially in older buildings where walls may shift slightly. To repair, simply reapply a small amount of joint compound over the affected area, sand it smooth, and repaint if necessary.
Common Challenges and Solutions
Avoiding and Fixing Bubbles
Bubbles can form if the joint compound is not mixed well or if air gets trapped during application. To avoid this, mix your compound thoroughly and apply it in smooth, deliberate strokes. If bubbles appear, sand them down and reapply the compound.
Dealing with Uneven Layers
If you find that your skim coat is uneven, don't worry. Once it's dry, you can sand down the high spots and apply another thin layer to even it out.
Humidity and Drying Times
High humidity can extend the drying time of your skim coat. Ensure good ventilation in the room and consider using a dehumidifier to speed up the process.
Creative Skim Coating Ideas
Textured Finishes
While skim coating is typically used to create smooth surfaces, you can also experiment with textures. Use different tools like sponges or combs to create unique patterns in the wet joint compound.
Accent Walls
Consider using skim coating to create a feature wall in your home. A smooth, level 5 finish provides the perfect canvas for bold colors or wallpaper.
Combining Skim Coat with Other Techniques
Skim coating can be combined with other decorative techniques like stenciling or faux painting to create intricate designs on your walls or ceilings.
Wrapping Up
Skim coating is a versatile and valuable skill in home improvement. It not only enhances the aesthetic appeal of your home but also provides a sense of accomplishment in DIY projects. With the right tools, patience, and practice, anyone can master skim coat techniques and breathe new life into their living spaces.
Remember, the key to a successful skim coat project lies in meticulous preparation, careful application, and patience during drying and finishing. By following these guidelines and tips, you'll be well-equipped to handle any skim coating project, from simple drywall repair to intricate plaster wall refurbishments.
In conclusion, skim coating is more than just a renovation technique; it's an art that can transform your space. Whether you're dealing with a basic skim coat drywall task or a complex skim coat popcorn ceiling project, the satisfaction of achieving a flawless finish is unmatched. Embrace the process, and enjoy the stunning results of your hard work.
Ready to work with Fort Worth Drywall Contractor Services?
Let's connect! We’re here to help.
Send us a message and we’ll be in touch.
Or give us a call today at 111-222-3333
Agency Contact Form
More Marketing Tips, Tricks & Tools