How to Fix a Big Hole in Your Wall: Expert Advice from a Fort Worth
Expert Tips: Patching up a Big
Hole in Your Wall
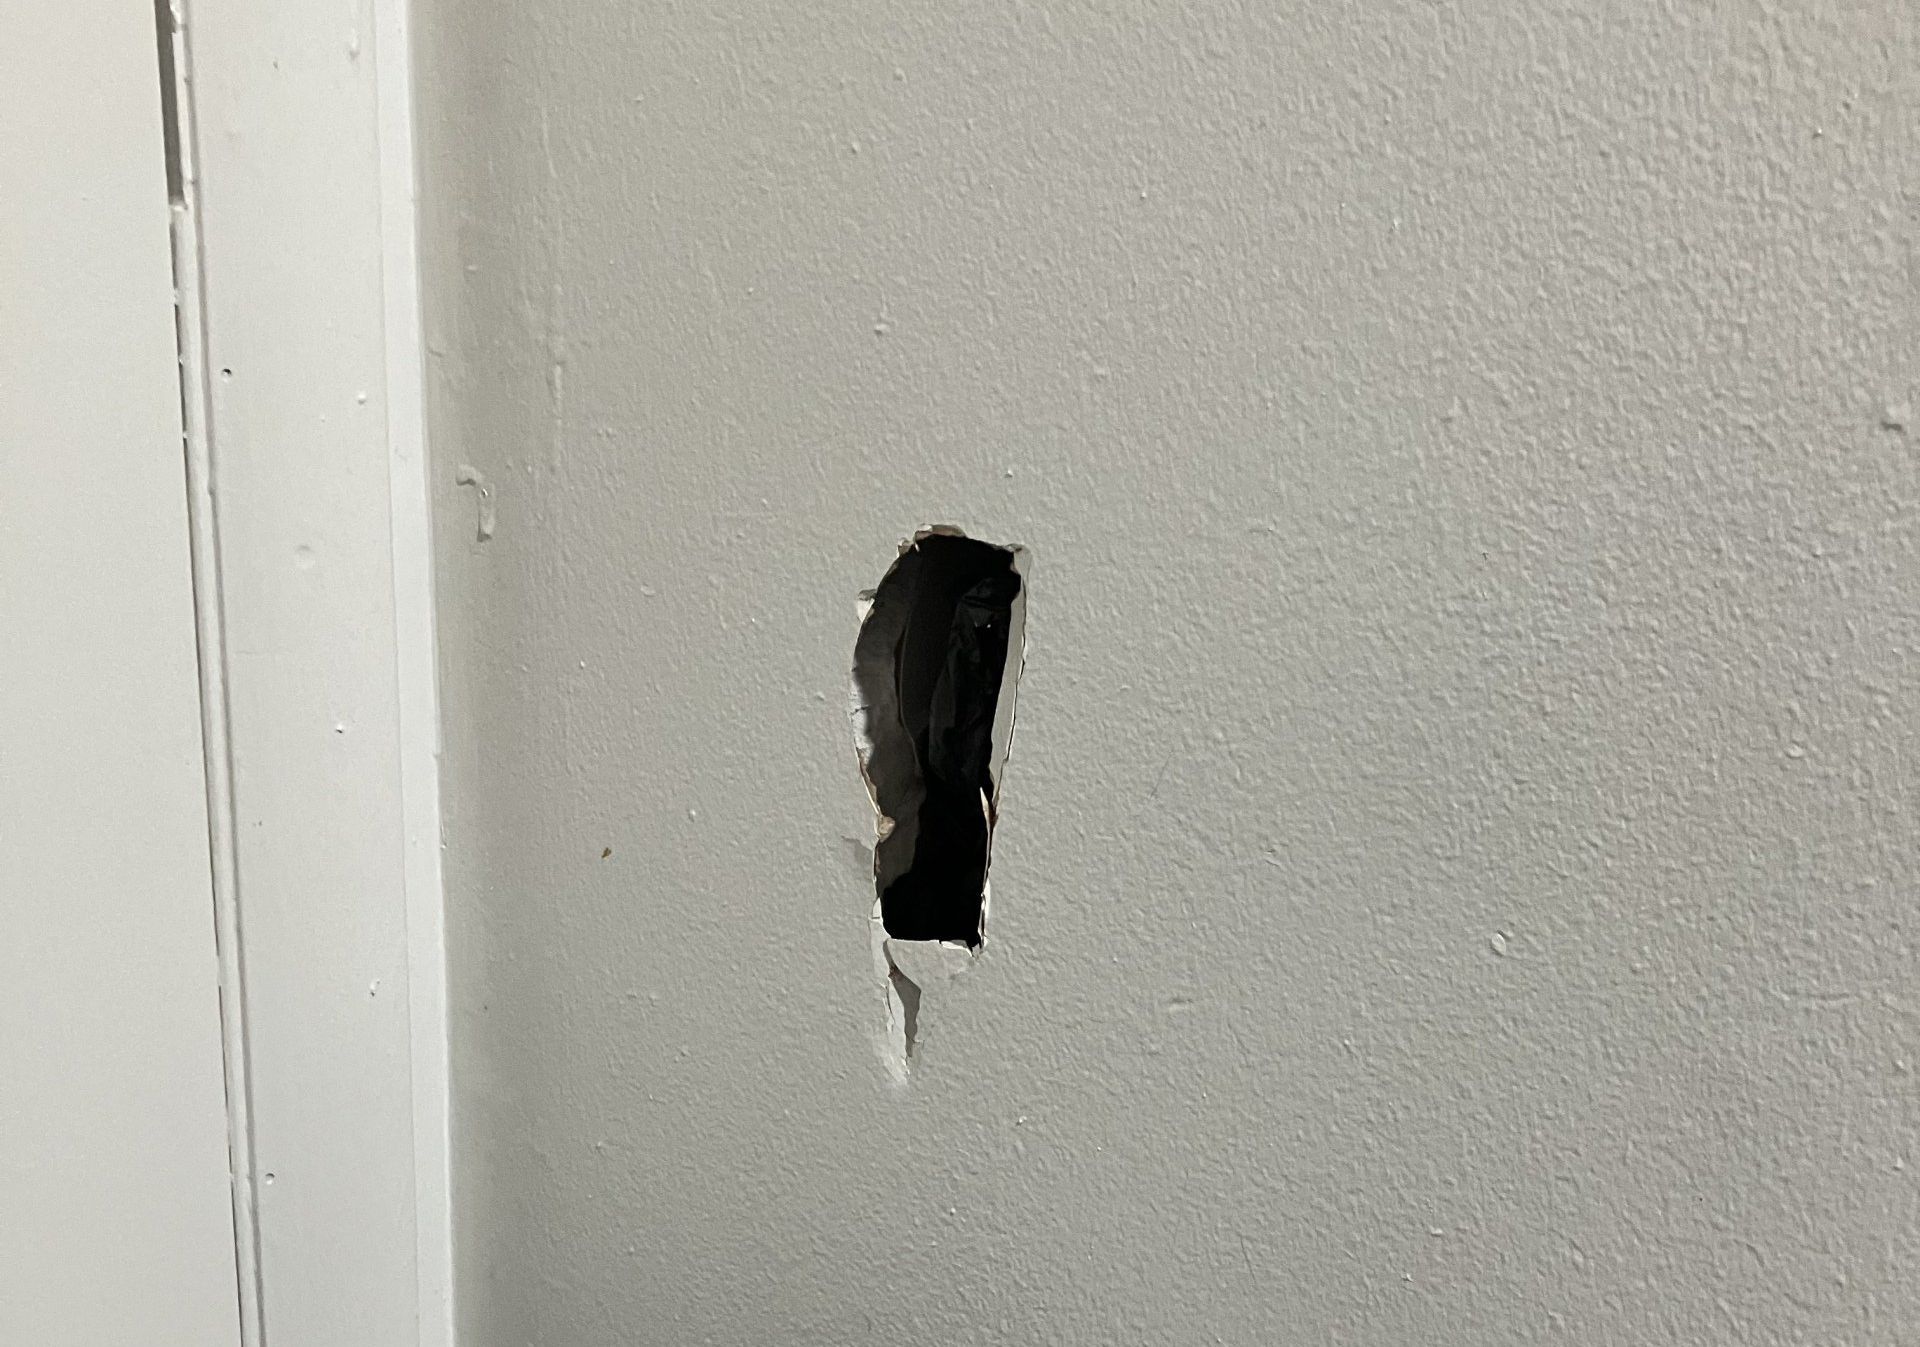
Whether it's the result of an accidental knock or a previous homeowner's negligence, these unsightly gaps can be a real eyesore in an otherwise perfect home. However, fear not, fellow homeowners of Fort Worth, as I am here to provide you with expert advice on how to fix that big patch hole in wall drywall . With the right tools, materials, and a little bit of patience, you'll be able to restore your walls and regain the aesthetic appeal of your beloved home. Let's dive into this step-by-step guide and tackle that hole head-on!
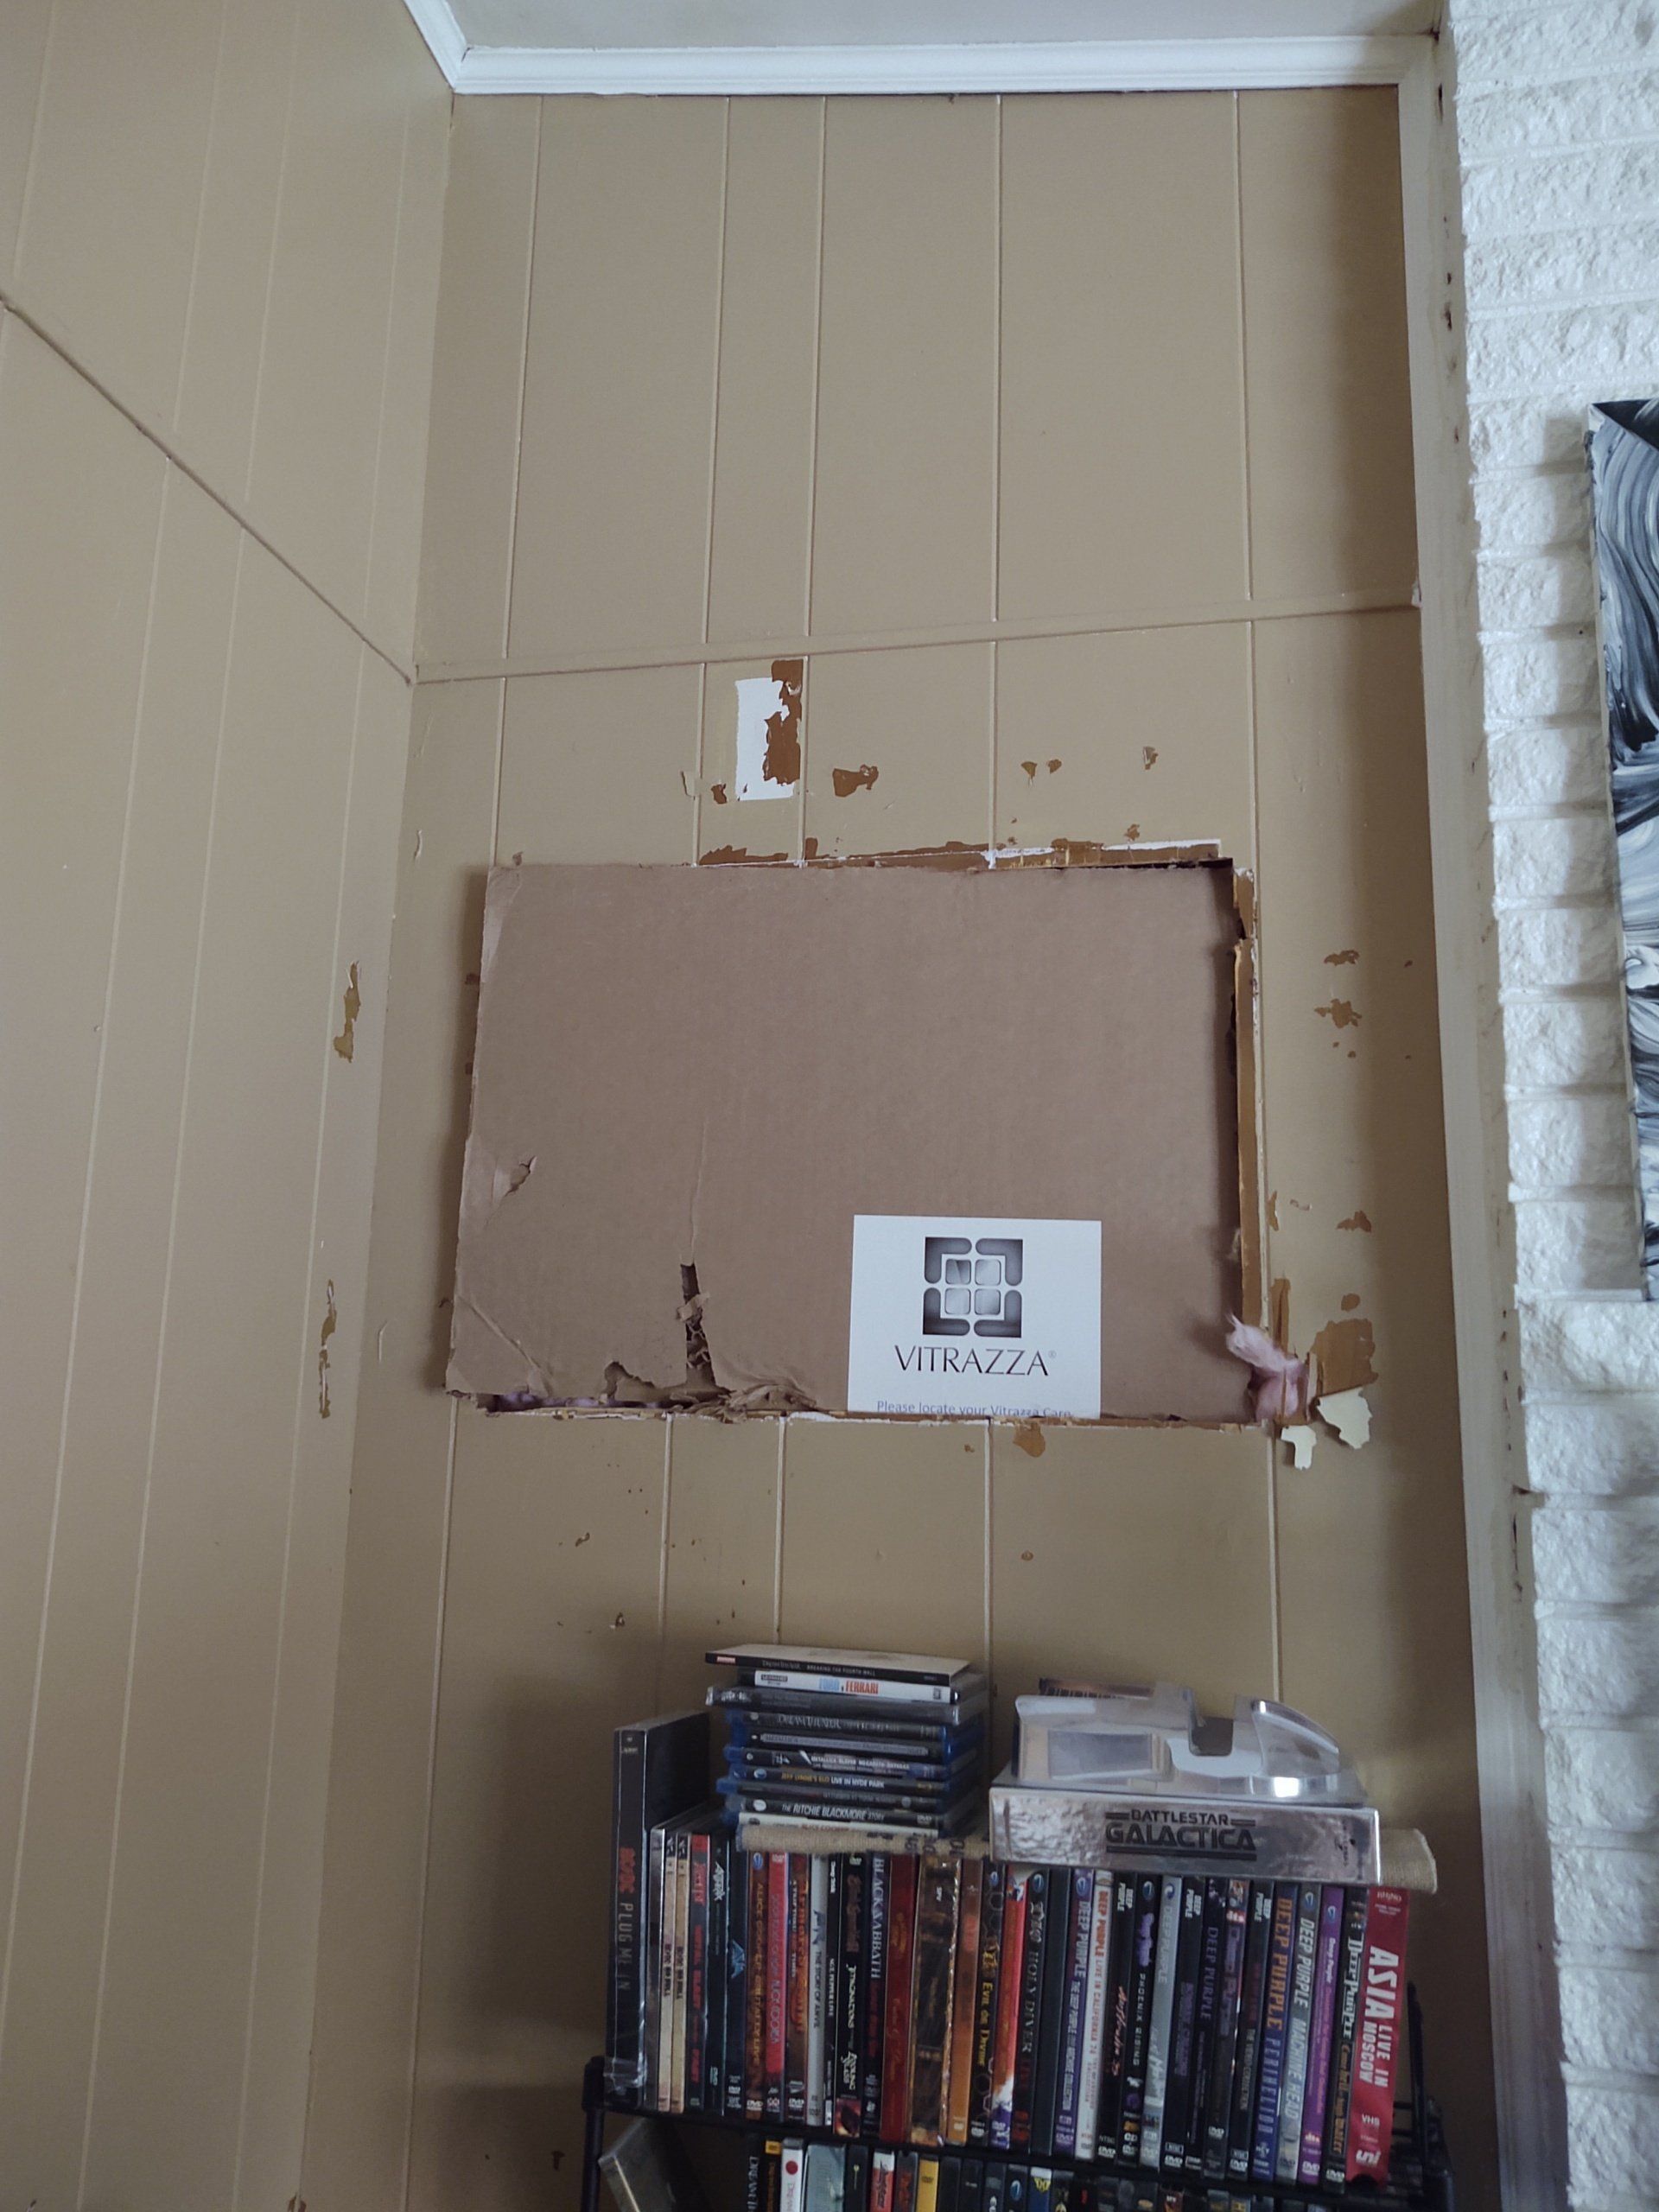
Assessing the Damage
The first step in fixing any damage is to assess the extent of it. Carefully examine the hole to determine its size and shape. Is it a shallow indentation or a gaping void? This will help you gauge the complexity of the hole in wall repair job and the materials you will need. Take note of any surrounding damage, such as cracks or crumbling plaster, as these may require additional attention.
Additionally, it is crucial to understand the cause of the hole. Was it the result of accidental damage or a structural issue? Identifying the root cause will help you prevent future damage and ensure a long-term large hole in wall solution. Remember, assessing the damage thoroughly is a vital step in the repair process that will guide you in taking the necessary actions to fix that big hole in your wall.
Selecting the Right Tools and Materials
The first step is to assess the size and severity of the hole. For smaller holes, a simple patching compound can do the trick. However, for larger holes, you will need to gather a few more supplies. A key tool to have on hand is a drywall saw or utility knife, which will enable you to cut away any damaged or loose sections of drywall.
Additionally, a putty knife and a taping knife will be essential for applying the patching compound and smoothing it out. Don't forget to have a sanding block or sandpaper handy for achieving a seamless finish. Remember, selecting the right tools and materials is crucial for a successful wall repair, and with a little bit of patience and attention to detail, your wall will look as good as new in no time.
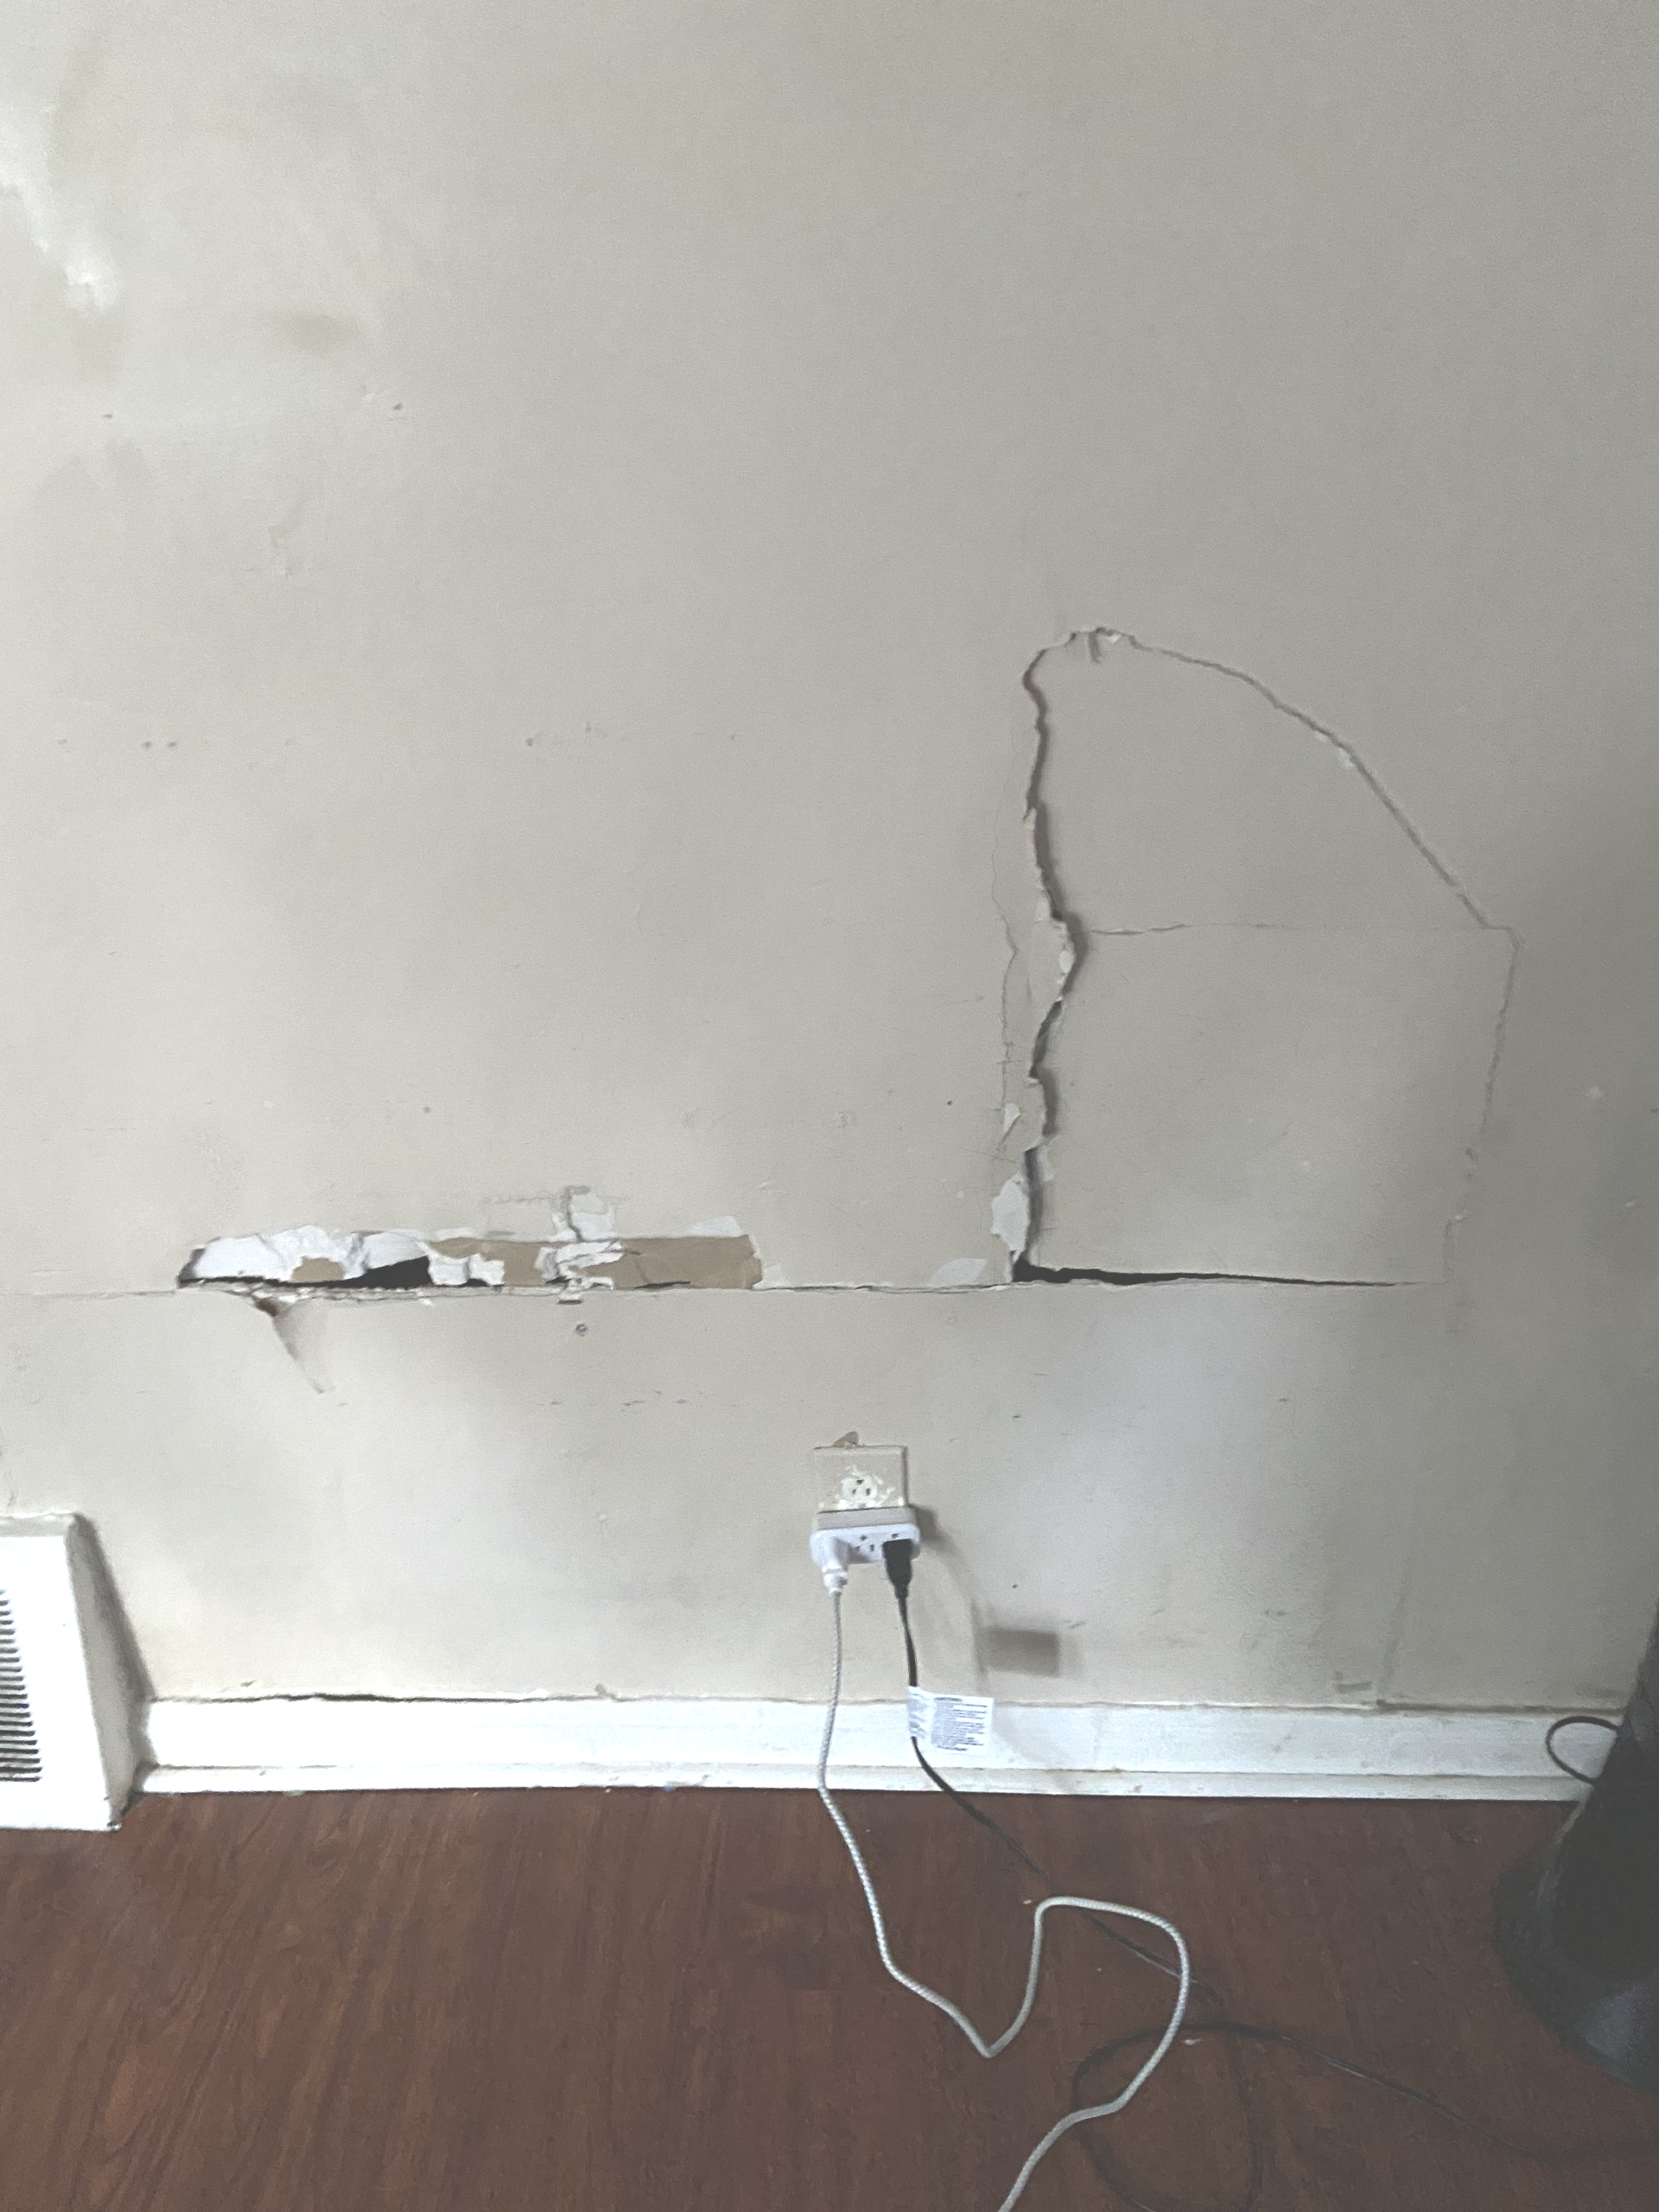
Preparing the Area for Repair
The right guidance and preparation, you can achieve great results. One important step in the process is properly preparing the area for repair. Start by removing any loose debris or flaking paint from the surrounding area using a scraper or sandpaper.
This will ensure a clean surface for the repair material to adhere to. Next, thoroughly clean the area with a mild detergent and water solution, removing any dirt or grease that may hinder the repair process. Finally, carefully inspect the hole to identify any underlying issues, such as plumbing or electrical cables, which may require professional assistance. By taking the time to prepare the area for repair, you are setting yourself up for success and ensuring a smooth and seamless wall repair.
Repairing the Hole
Whether it was caused by an accident, a failed DIY project, or simply wear and tear over time, the sight of a gaping hole can be overwhelming. However, I'm here to provide you with expert advice on how to fix hole in wall this issue and restore your wall to its former glory. Firstly, it's important to assess the extent of the damage and determine the underlying cause.
Once you've identified the reason behind the hole, you can proceed with the appropriate repair method. For smaller patch hole in wall, such as those left by nails or screws, a simple patching compound can do the trick. However, for larger big hole in wall, it's crucial to utilize a patching kit and reinforce the area with mesh tape to ensure a long-lasting repair.
Remember, proper preparation and technique are key when it comes to fixing holes in your wall, so don't rush the process and take your time to achieve a seamless result. With the right tools and a little bit of patience, you'll be amazed at how easily you can transform that unsightly cover holes in wall into a flawless wall once again. Stay tuned for more expert advice on home improvement topics that will help you become the handiest homeowner on your block
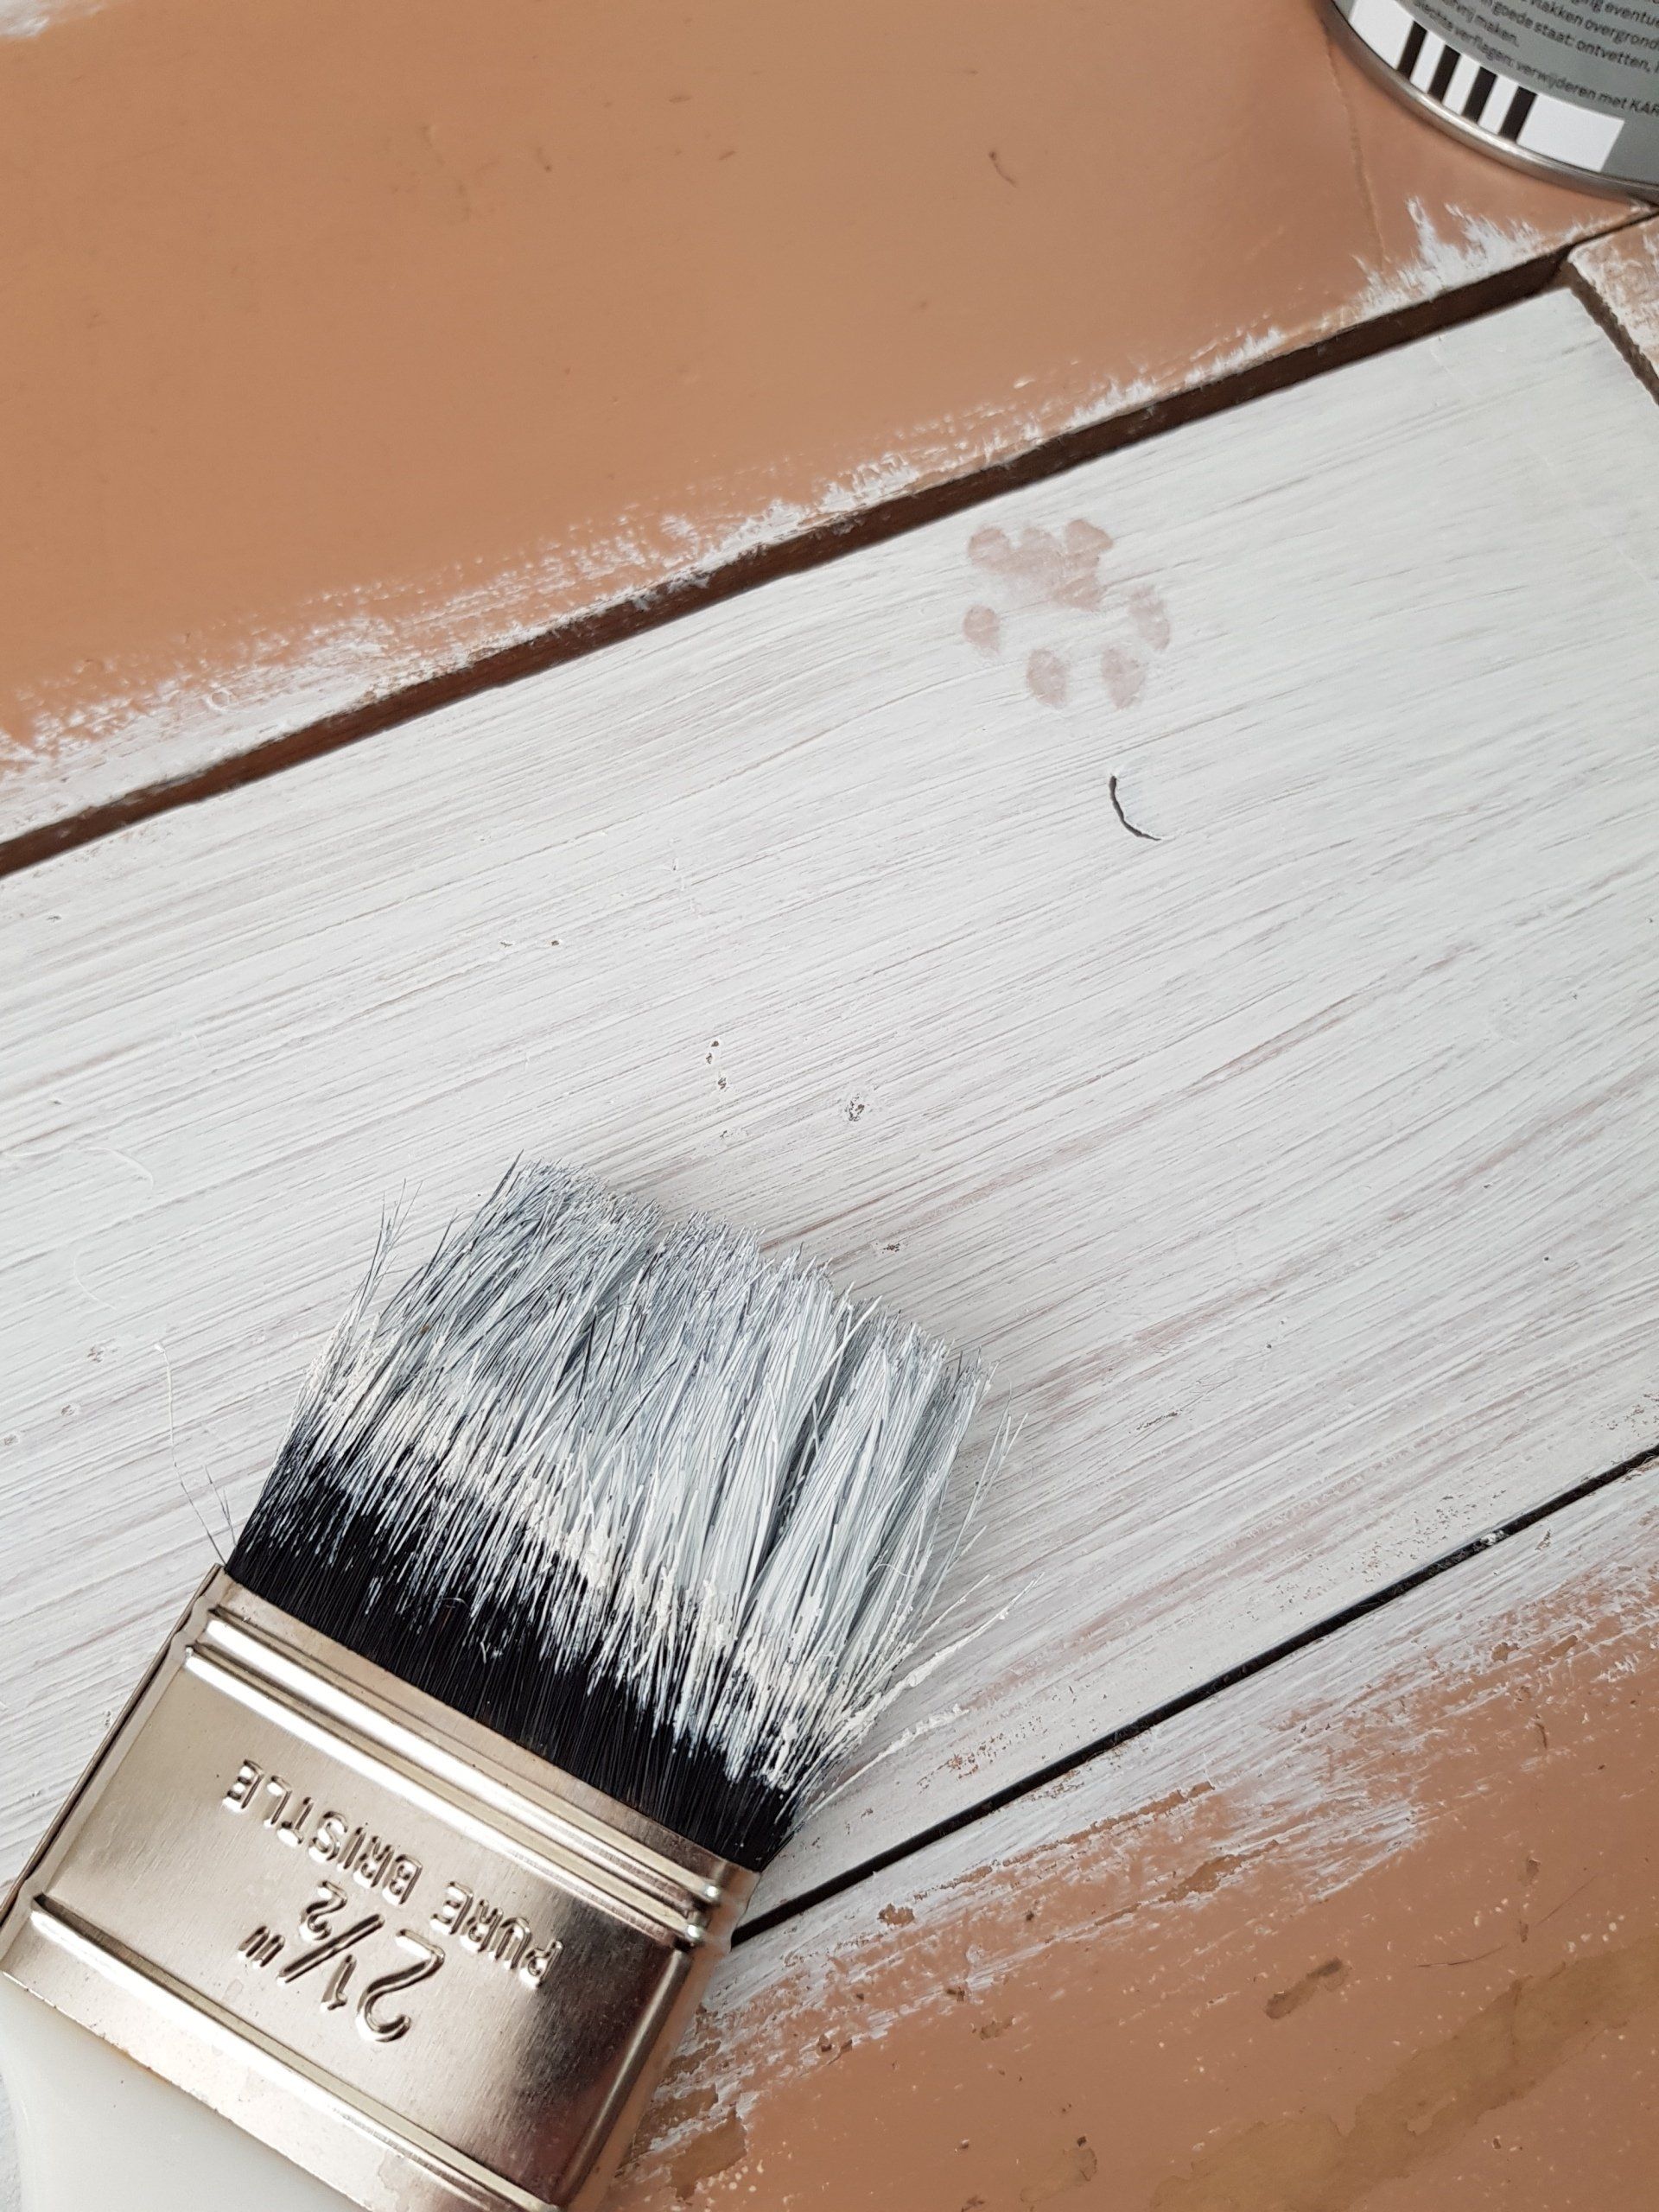
Finishing Touches and Final Steps
First and foremost, I always recommend applying a coat of primer to the patched area. This not only seals the surface and ensures a smooth and even application of paint, but also helps to prevent the patched area from standing out. Once the primer is dry, it is time to carefully match the paint color to the existing wall.
This can be achieved by either taking a sample of the wall color to a paint store or using color-matching technology available online. When applying the paint, it is important to use multiple thin coats rather than one thick coat, as it allows for better blending and minimizes the chances of the patch being noticeable.
Lastly, to achieve a patch up holes in wall professional and seamless finish, lightly sand the painted area with a fine-grit sandpaper and then apply a clear topcoat or sealer to protect the paint and maintain a consistent appearance.
Conclusion
In conclusion, repairing a big hole in a wall can seem like a daunting task, but with the right tools, materials, and mindset, it is actually quite manageable. By following the step-by-step process outlined in this blog post, you can restore your wall to its former glory and prevent further damage. However, it is crucial to take immediate action to avoid any worsening of the situation. If you feel unsure about handling the repair yourself, don't hesitate to seek professional assistance. Our team is always ready to help, so please do not hesitate to contact us for a free quote. Happy repairing!
Ready to work with Fort Worth Drywall Contractor Services?
Let's connect! We’re here to help.
Send us a message and we’ll be in touch.
Or give us a call today at 111-222-3333
Agency Contact Form
More Marketing Tips, Tricks & Tools