Master Drywall Taping and Mudding Techniques
Master Drywall Taping and Mudding Techniques for a Flawless Finish
When it comes to creating flawless walls and ceilings, taping and mudding are two essential steps in drywall installation. These techniques require precision, the right tools, and a lot of patience. For homeowners and professionals alike, mastering drywall taping and mudding techniques can mean the difference between a smooth, seamless surface and a wall full of visible joints, bumps, and imperfections.
At
Fort Worth Drywall Contractor, we take pride in perfecting these methods to provide high-quality finishes. Whether you're a DIY enthusiast or someone looking to hire drywall contractors in Fort Worth, understanding the process will help you appreciate the skill and effort involved in this craft.

What is Drywall Taping and Mudding?
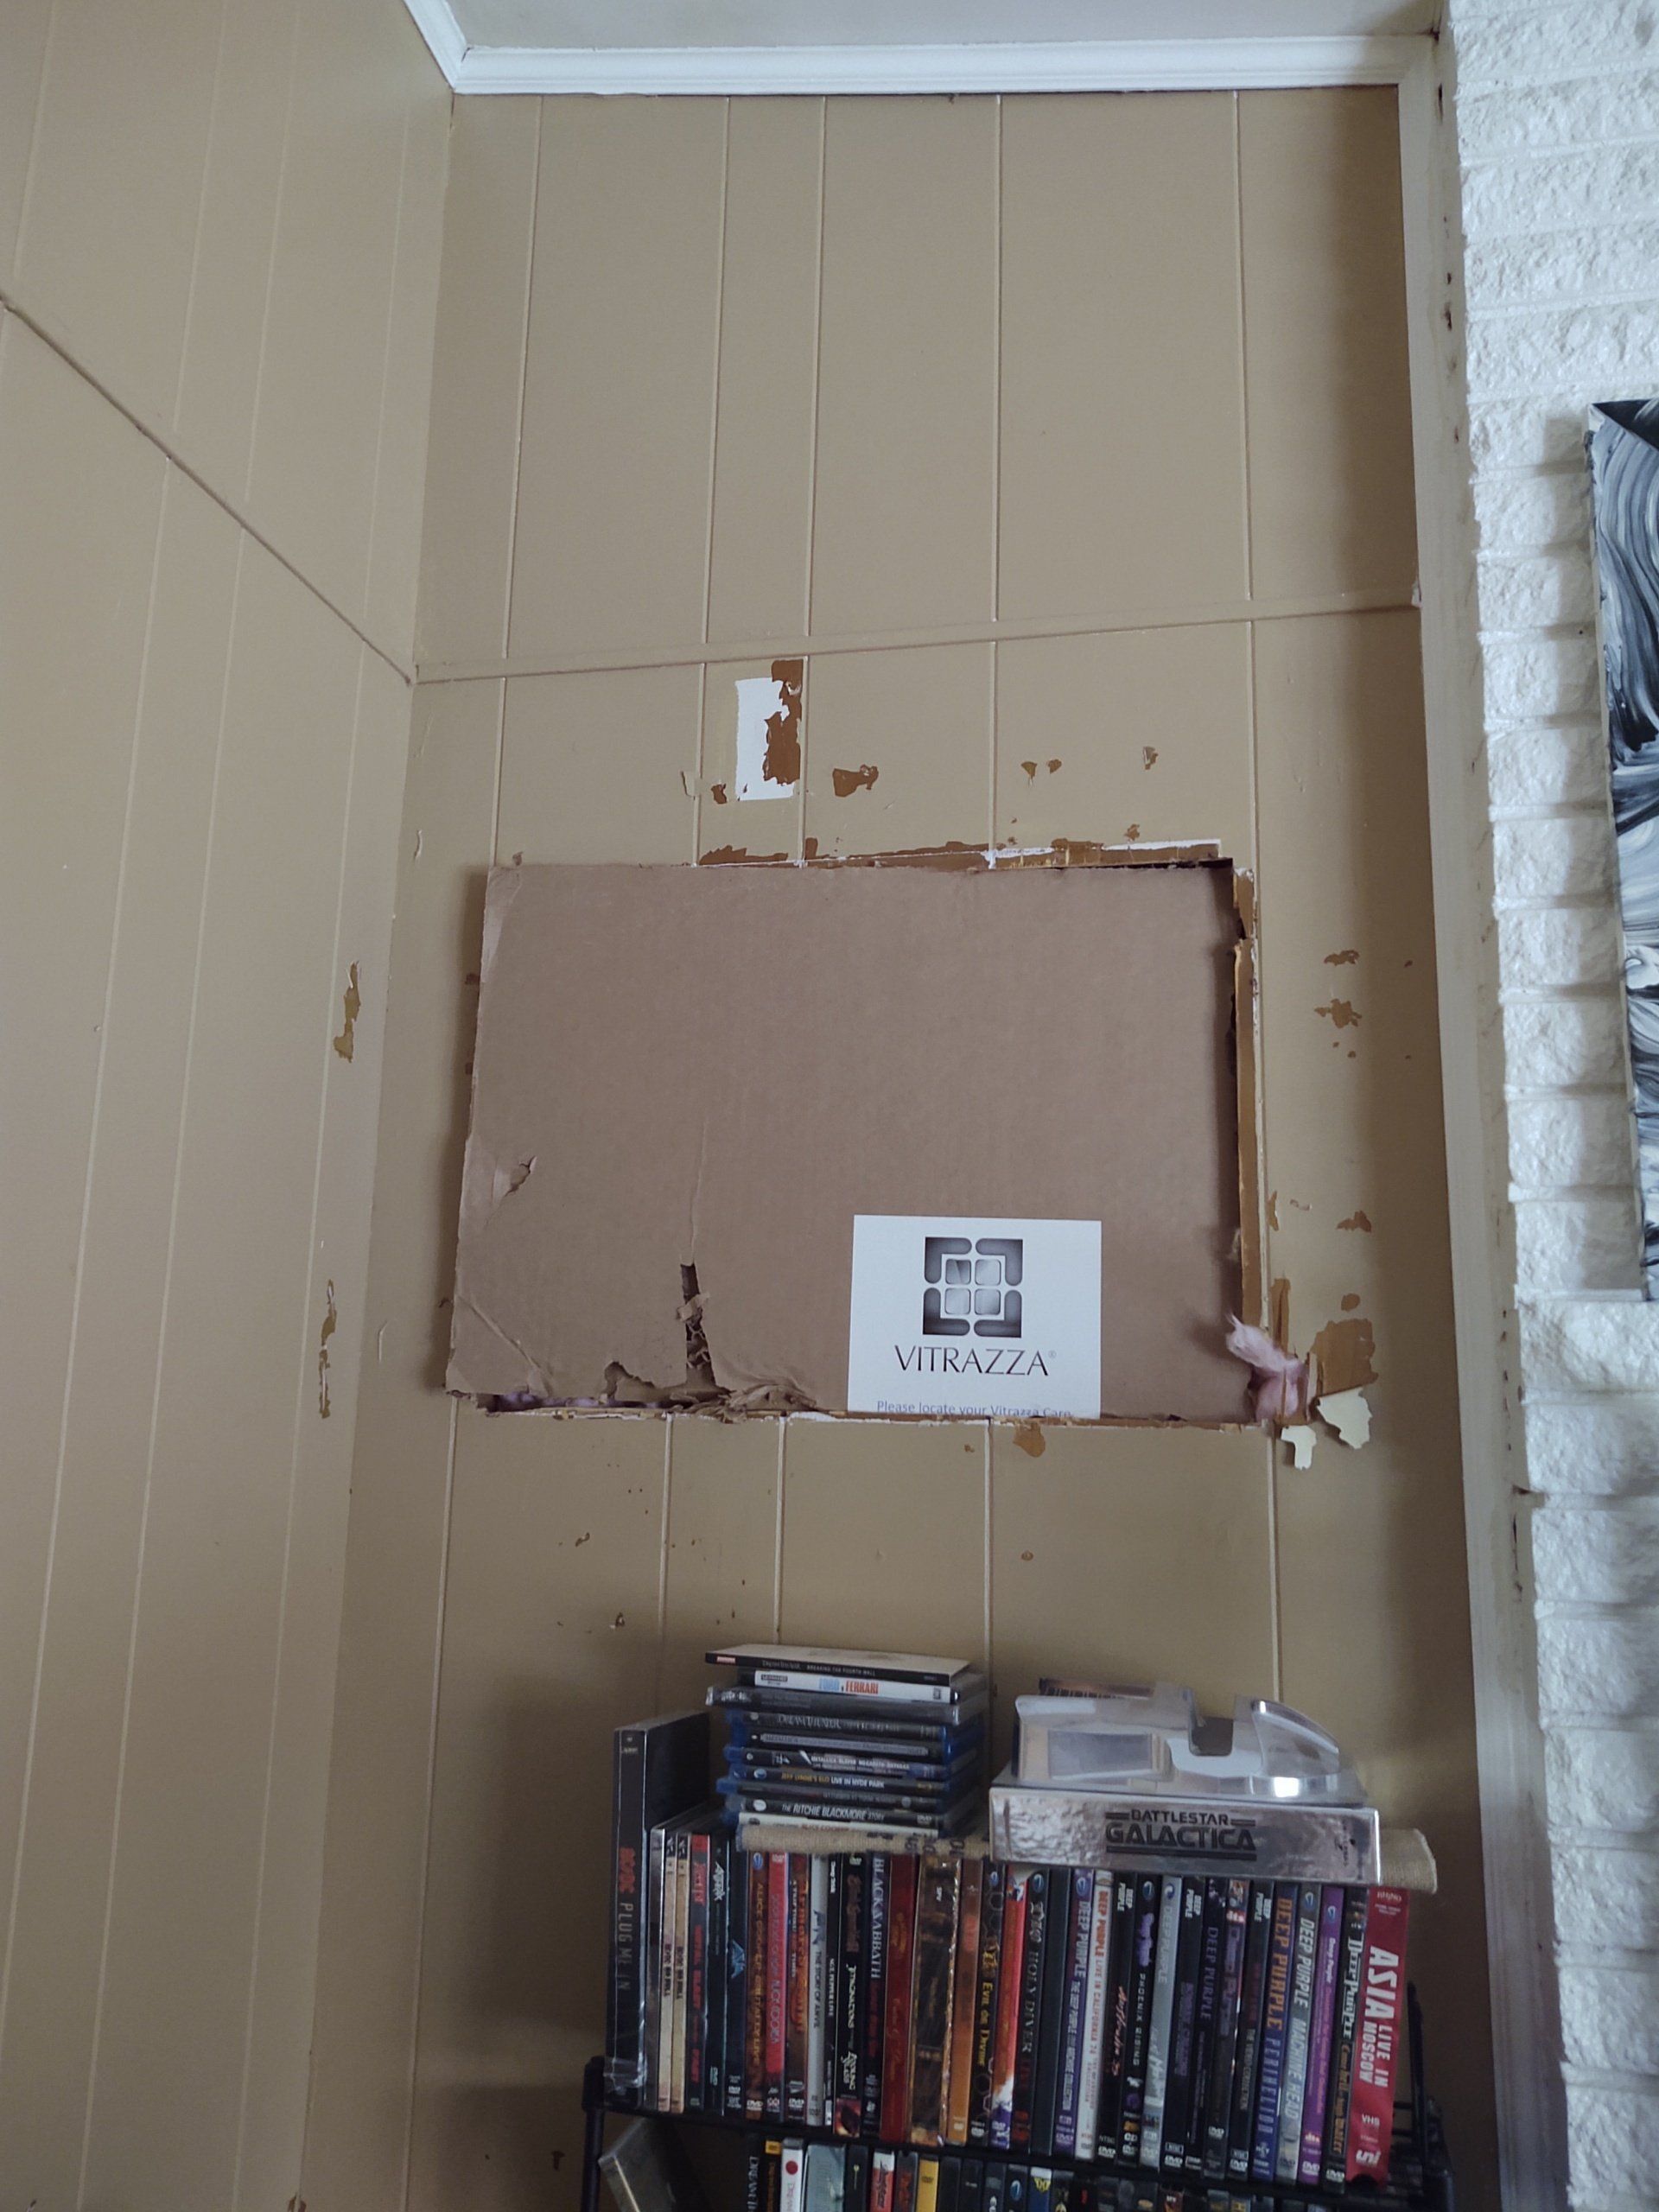
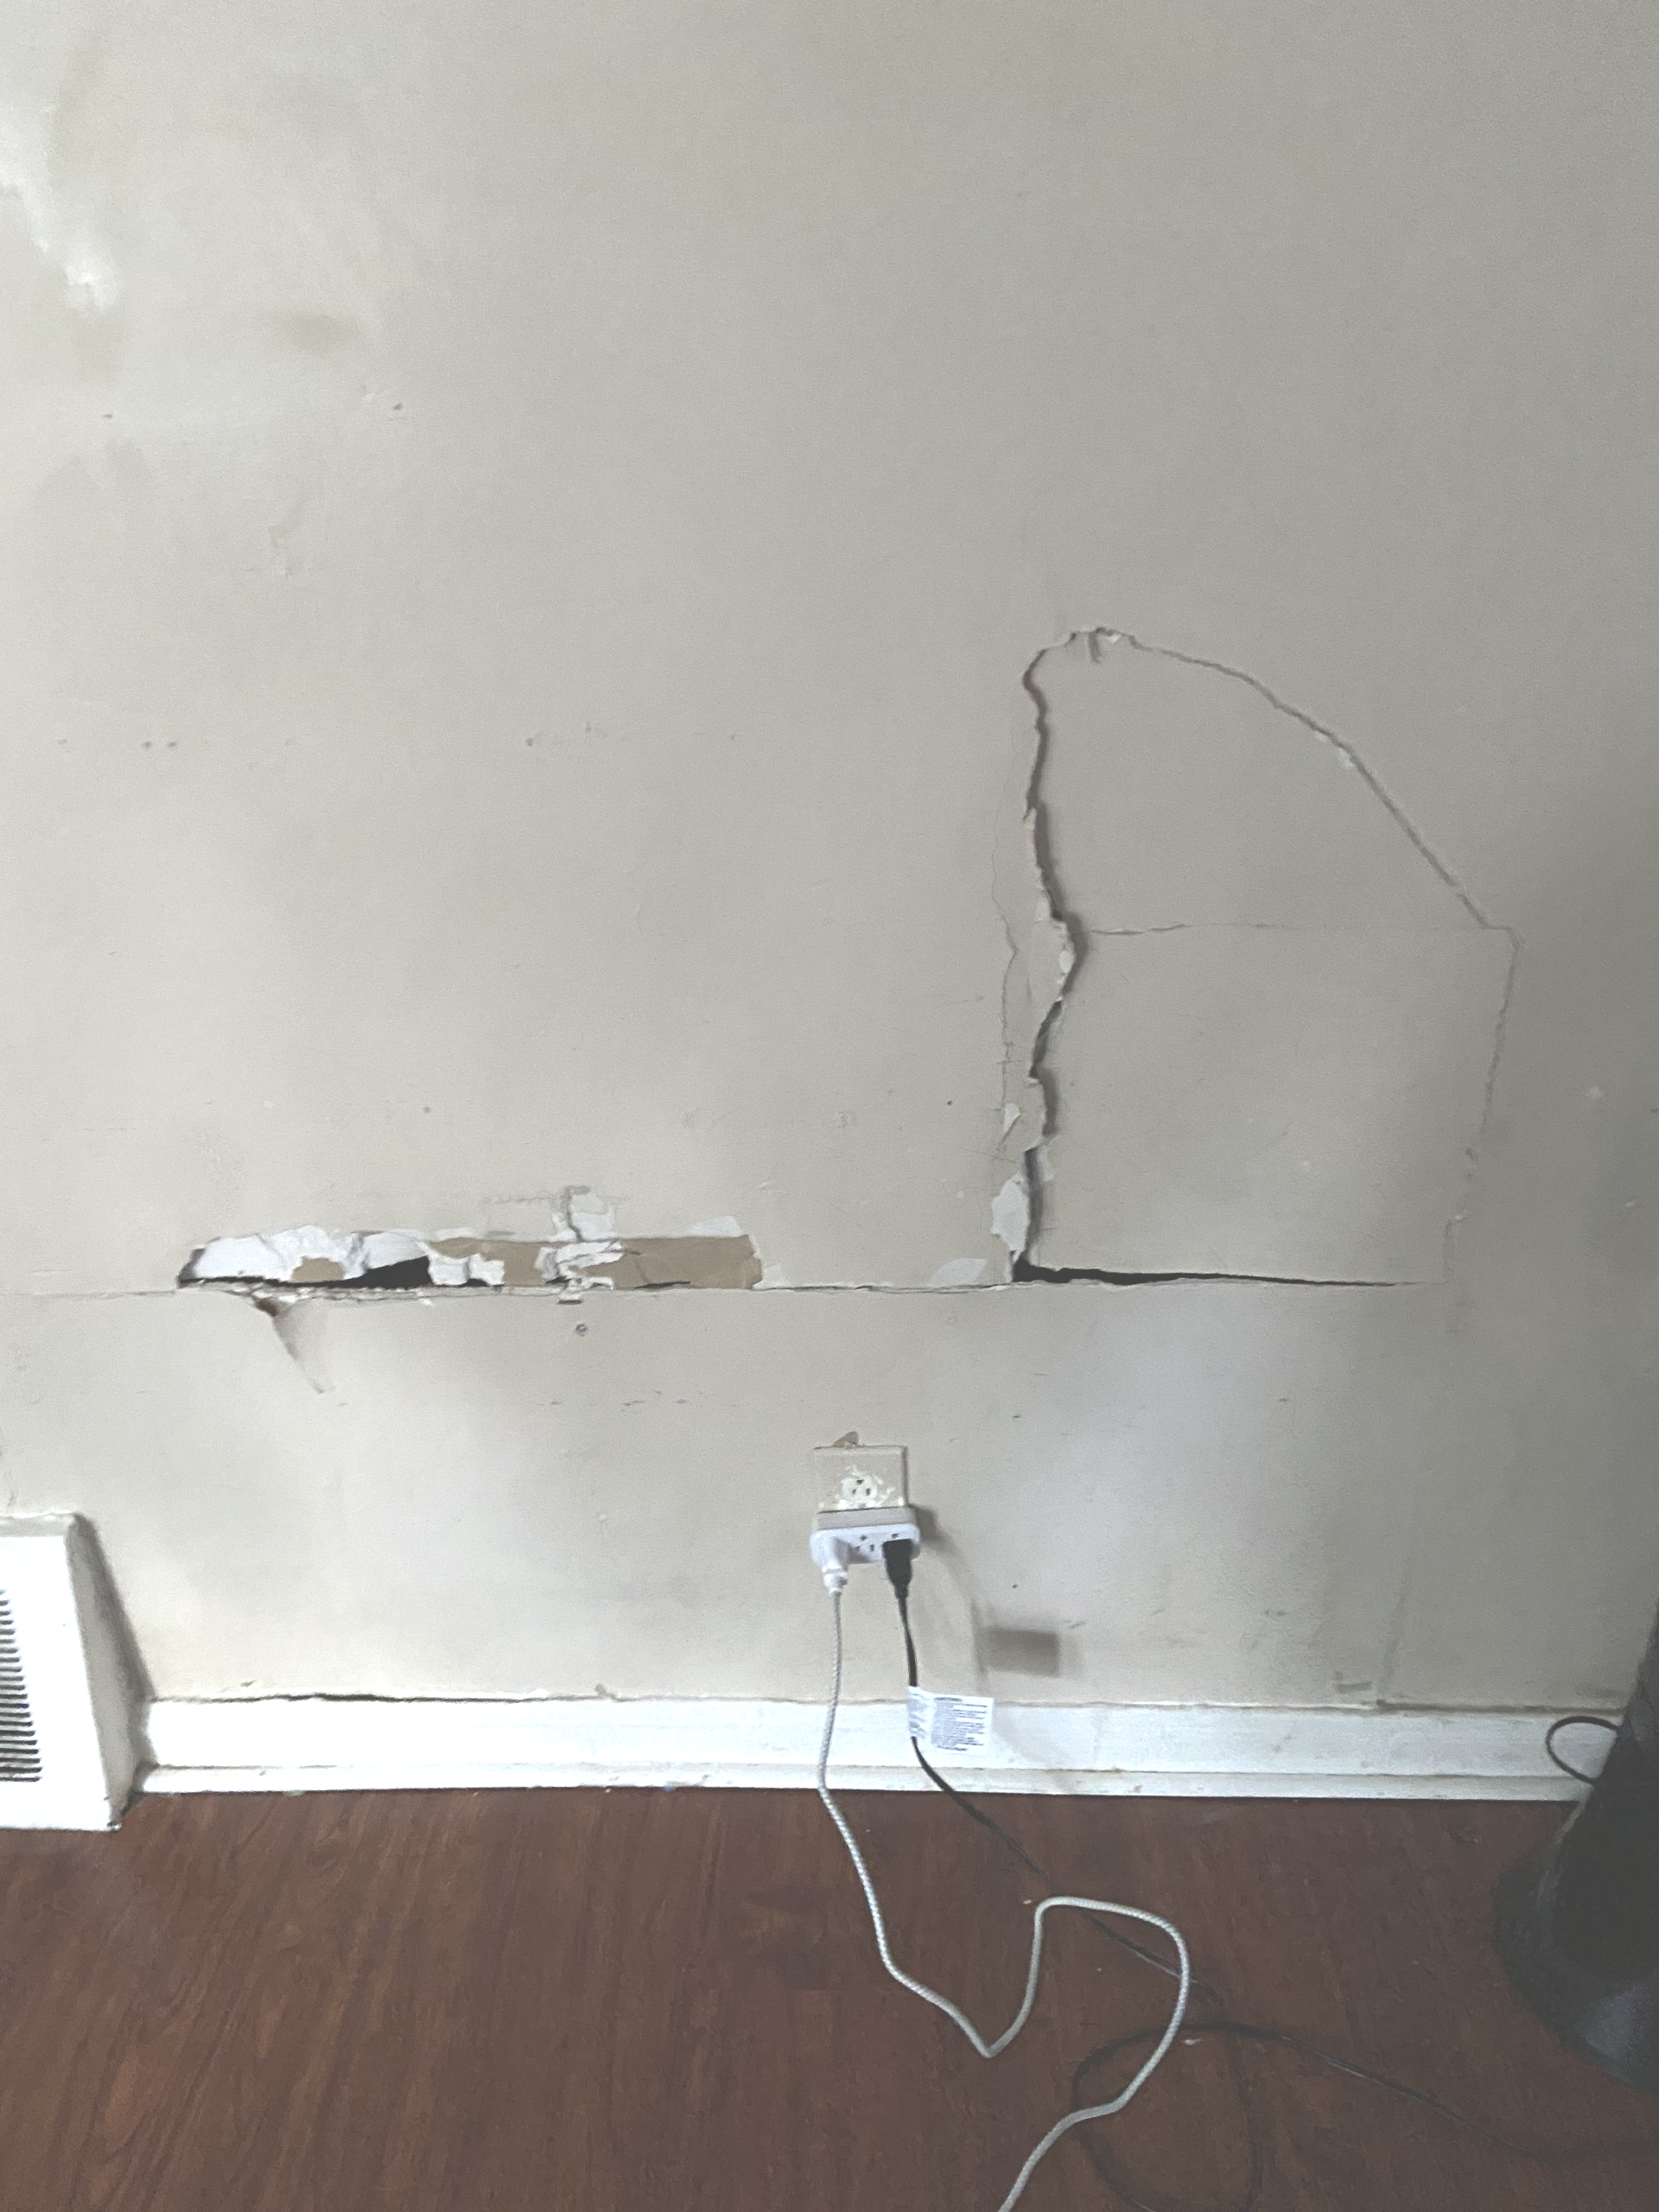
Drywall taping and mudding are steps that occur after drywall panels, or sheetrock, have been installed. These processes help hide the joints between drywall sheets and create a smooth, even surface for painting or texturing.
- Taping involves applying drywall tape over the seams (joints) between drywall sheets. The tape provides a strong base that helps hold the joint compound in place and prevents cracks from forming over time.
- Mudding refers to applying joint compound (also known as "mud") over the tape and other areas like screw indentations. The mud is smoothed out to blend with the drywall surface, creating an even finish that can be painted or textured.
Tools Needed for Drywall Taping and Mudding
Before diving into the techniques, it’s important to have the right tools on hand. Here are some essentials that both DIYers and professional drywall installers use:
- Taping Knife: A wide knife used to spread joint compound smoothly across the drywall seams.
- Joint Compound (Mud): The material used to cover seams, tape, and screws. It dries to a hard finish that can be sanded down for smoothness.
- Drywall Tape: Either paper or mesh tape is applied over the seams. Paper tape is preferred for strength, while mesh tape is often easier for beginners.
- Corner Trowel: A specialized tool for applying mud to inside and outside corners.
- Sanding Block or Sanding Sponge: To smooth out the surface after the mud has dried.
- Mud Pan: A container used to hold joint compound while applying it.
Step-by-Step Guide to Taping and Mudding
1. Prepare the Drywall Surface
Before applying any tape or mud, make sure the drywall surface is clean and free from dust or debris. This ensures better adhesion of the tape and compound.
2. Apply the First Layer of Mud
Using a taping knife, apply a thin layer of joint compound over the seams. This first layer will serve as the base for the tape, helping it to stick to the surface.
3. Tape the Joints
Place drywall tape over the mudded seams. For flat seams, use a taping knife to press the tape into the joint compound, ensuring there are no bubbles. For corners, either fold paper tape or use a corner trowel to press it into the joint.
4. Add More Mud
Once the tape is in place, apply a second layer of joint compound over the tape. Use long, smooth strokes with your taping knife to feather out the edges and blend the compound into the drywall.
5. Smooth and Let Dry
Allow the joint compound to dry completely, which typically takes 24 hours. During this time, avoid touching or disturbing the mud, as it could affect the smoothness.
6. Apply Additional Layers
For a professional finish, you’ll need to apply at least two more layers of joint compound, each one slightly wider than the previous. This ensures that the seams blend seamlessly into the drywall. Let each layer dry before adding the next.
7. Sand and Finish
Once the final layer of mud has dried, use a sanding block or sponge to smooth out any imperfections. Be careful not to oversand, as this can expose the tape underneath. After sanding, the drywall is ready for paint or texture.
Common Mistakes to Avoid
Even experienced drywall contractors face challenges with taping and mudding. Here are some common mistakes and tips on how to avoid them:
- Too Much Mud: Applying too much joint compound can lead to uneven surfaces and a longer drying time. It’s better to work with thin layers and build up gradually.
- Poor Taping: If the tape is not applied smoothly, it can lead to visible bumps and bubbles after the mud dries. Always press the tape firmly into place with your knife.
- Insufficient Sanding: While sanding can be tedious, it’s crucial for achieving a smooth finish. Be thorough but careful not to sand too deeply, as it could undo your hard work.
DIY vs. Professional Drywall Installation
While DIY drywall taping and mudding is possible, it requires patience and precision. Many homeowners attempt it themselves only to discover how challenging it is to achieve a flawless result. Here’s a breakdown of DIY vs. professional drywall services:
- DIY Taping and Mudding: If you’re tackling a small project, DIY might be a cost-effective option. However, expect to invest time in learning the process, and be prepared for possible imperfections that may need touch-ups.
- Professional Drywall Installation: Hiring professional drywall contractors in Fort Worth ensures that your walls are finished to perfection. Professionals have the experience, tools, and techniques needed to complete the job efficiently, saving you time and potential frustration.
If you have decided to take on the project of drywall taping upon yourself, check out our
beginner guide blog for guidance.
Why Choose Professional Drywall Services?
There are several reasons why hiring drywall services for taping and mudding may be the best choice:
- Flawless Finish: Professionals know how to avoid common pitfalls and deliver a smooth, even surface.
- Efficiency: Experienced installers complete the job faster and more efficiently than most DIY efforts.
- Cost-Effective in the Long Run: While hiring professionals may seem like a larger upfront investment, it can save you from costly repairs or touch-ups down the line.
Conclusion
Mastering drywall taping and mudding techniques is key to creating flawless walls and ceilings. Whether you’re attempting a DIY project or seeking professional help from drywall contractors achieving the best results.
Taping and mudding are essential steps in creating a polished, professional look for your walls, and they require both skill and attention to detail. While DIY enthusiasts can tackle small repairs or projects, large-scale installations or more complex jobs are best left to drywall installers who have the experience to ensure a perfect finish.
We pride ourselves on delivering top-quality drywall services that meet the needs of every project, big or small. Whether you're renovating a single room or working on new construction, our team is here to provide expert drywall and sheetrock solutions that will last for years to come.
Ready to work with Fort Worth Drywall Contractor Services?
Let's connect! We’re here to help.
Send us a message and we’ll be in touch.
Or give us a call today at 111-222-3333
Agency Contact Form
More Marketing Tips, Tricks & Tools